Posts

Showing posts with the label RasbPi

Raspberry Pi and Pints at Potton

I'm off to Potton tomorrow for a Pint or two at the Rising Sun with fellow Raspberry Pint enthusiasts. These informal sessions are run by Mike Horn and Tim Richardson, who also organise the excellent CamJams. If Pi and Pints appeal, there are still a few tickets available on Eventbrite . The event is free, and the tickets are there to make sure the room at the pub doesn’t get overcrowded. A gardening project I'll be taking along a project for my wife's greenhouse. It involves linking a Pi at home to a XinoRF in the greenhouse at her allotment using wireless radio. The Pi uses wireless things ' Slice of Radio. The XinoRF (also from wireless things ) is a wireless-enabled Arduino clone. The basic set-up now works well, but getting it going has been trickier than I expected. I'll be describing the mistake I made and its simple solution in next week's edition of my free newsletter, along with additional details of the software at each end. You can subsc...
More fun with the Pimoroni Explorer HAT

Image
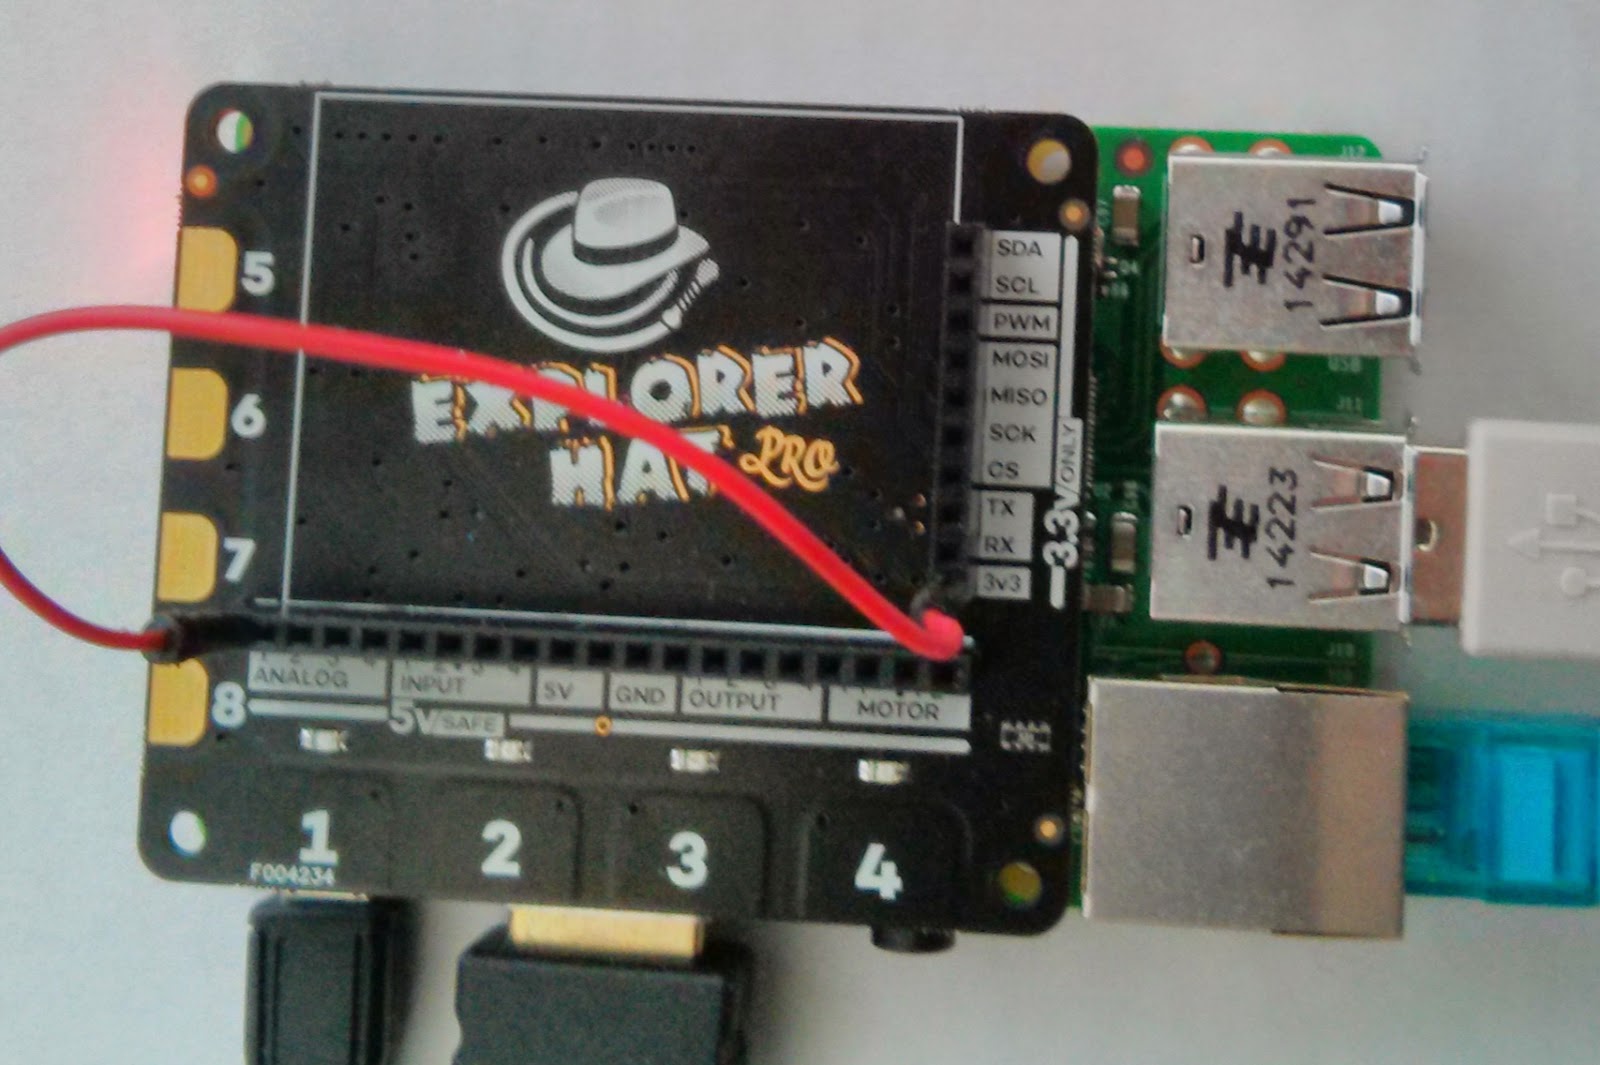
I've been playing a bit more with the new Pimoroni Explorer HAT . One of the most exciting features of the Pro version is the analogue interface. Once you've installed the ExplorerHAT package using pip, you can try typing in the examples in the README on github. If you want some more examples, you can clone the github repository into a directory of your choice. Then you'll be able to run the code from the examples directory. Type git clone https://github.com/pimoroni/explorer-hat.git cd explorer-hat sudo python examples/analog-event.py You'll see a series of rapidly varying numbers displayed in the console. These show the current voltage as seen on analogue input 1. Since you (presumably) haven't connected that to anything, the output will be fluctuating random values. To see something more sensible, use a jump wire to connect analogue input 1 to the Hat's 3.3 volt output, and you should see the display stabilize showing a value of about 3.3 ...

Pimoroni Explorer Pro Hat - first impressions

Image
This morning my new Explorer Hat from Pimoroni arrived, and the tempation to play has proved to much to resist. There are two versions of the Explorer Hat, standard and Pro. I greedily ordered one of each; the standard version is great for experimenting, but the Pro version offers several extra useful features. I started with the Pro. I love it. Here's what the Explorer hats provide: Four buffered 5V tolerant inputs Four powered 5V outputs (up to 500mA!) Four capacitive touch pads Four capacitive crocodile clip pads Four coloured LEDs PRO ONLY  Four analog inputs PRO ONLY  Two H-bridge motor drivers PRO ONLY  A heap of useful (unprotected) 3v3 goodies from the GPIO A mini breadboard on top! It took me a couple of minutes to get the environment set up The Readme on the github site tells you how prepare your Pi, and then walks you though some fun experiments. One thing to watch: the setup instructions suggest that you install pip by typin...

Using the Raspberry Pi SPI as an AVR ISP (In-system programmer)

Image
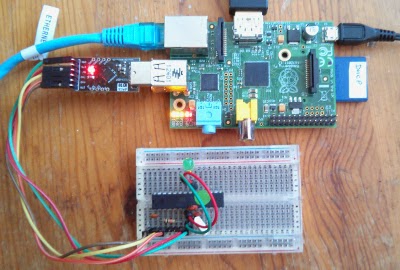
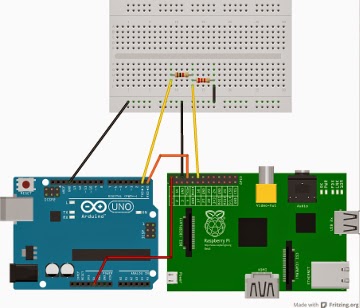
A few days ago I blogged about using the Arduino IDE on the Raspberry Pi . It works fine, but of course the Arduino or clone needs to have a boot-loader installed in order for the IDE to work its magic. I wondered if you could also use a Pi to install the boot-loader in the first place. There are lots of ways to install a boot-loader, but most of them require that you start out with at least one working Arduino or clone. What if you don't have one? Could you use a Pi as a programmer? (c) Jason Mann I'd recently seen a rather cool project which uses a custom board with an ATTiny AVR chip and an LED display to show the Pi's IP address. Jason Mann, the author, explained how he used the Pi to program the ATTiny. It looked to me as if his technique should work just as well on an ATMega 328p. (That's the chip that forms the heart of the Arduino Uno and the Shrimp). It does. I hit some minor complications while getting things to work and thought I should shar...

What would you like to know about Pi + Arduino?

Image
C3Pi Regular readers will know how much I like the combination of the Raspberry Pi and Arduino. C3Pi is a prime example of that approach. There's lots to say about using the two platforms together. I just started a poll on G+ asking which aspects people are most curious about. Have your say here !

Covent Garden Workshop

Image
The date for the next Covent Garden Jam has been confirmed - it's on  25 April 2015 from 14:00 to 17:00 (BST) and tickets will be released soon. You can see more details here , though you can't book tickets yet. There will be lots of fun things to do. I'll be running two workshops - Making the Shrimp and tworse . Making the Shrimp Build your own Arduino Clone! You'll need to pay for your kit (£10) and then follow the step-by-step instructions in the workshop guide. It's fun, it's easy (no soldering) and it's fast. The workshop takes 90 minutes or less. You'll need a laptop with a spare USB port and version 1.0.x of the Arduino IDE installed - or you can use a Raspberry Pi! You can read about past workshops here and here . Tworse Link up a Raspberry Pi to An Arduino (or Shrimp), and program them to flash out Tweets in Morse Code! It's a chance to polish your Python and sketch-writing skills! You can read a bit about the tworse ...

Arduino IDE on the Rapsberry Pi

Image
As part of my experiments with tworse (the Twitter to Morse project) I needed to install the Arduino IDE on a Raspberry Pi and use it to upload a sketch to a Shrimp. The Shrimp is a low-cost Arduino clone which uses a CP2102 as its programmer. To my surprise and delight everything just worked out of the box. A couple of people have asked me what I did. Here's what: Installing the IDE sudo apt-get update sudo apt-get upgrade sudo apt-get install arduino Since I normally work at the command line, I needed to fire up X-windows startx The menu included a category electronics, and the Arduino IDE was located there. Uploading a sketch Shrimp and Pi I started up the IDE with the Shrimp plugged into a USB port. I configured the IDE to use the appropriate board type (normally Arduino UNO for a Shrimp) and selected /dev/ttyUSB0 as the port. I opened and uploaded the examples/blink sketch. The IDE compiled it (which took about a minute) and uploaded it successfully...

Shrimp and Raspberry Pi run the Morse Twitter Display

Image
Yesterday I outlined my plans for a Morse Twitter display . Tworse (the Twitter Morse Code display) is now running on the Shrimp + Pi as well as on an Arduino + Pi. The Raspberry Pi monitors a twitter stream - in this case, it's looking for  tweets with the hashtag #morsetweeter. It converts each tweet to upper case, removes any non-ascii characters, and sends it over a serial link to the Arduino or Shrimp. The Shrimp reads lines using the Serial interface and flashes them in Morse Code. It then sends a text version of the Morse-coded line back to the Pi which displays it on the console. Running the app on the Pi The sketch for the Shrimp and the Python Script for the Pi are now on github . The sketch is  a bit long for a blog post, but here is the Python code on the Pi. import time from twython import Twython import serial def parse(filename, comment_char= '#' , separator= '=' ): options = {} with open (filename) as f: for ...

Tweeting Morse Code with Raspberry Pi and Arduino

Image
I'm stuck at home and have seized the opportunity to prepare for a workshop that will link the Shrimp and the Raspberry Pi. I love reusing previous projects. This one combines two bits of software that I prepared earlier :) Twitter client meets Morse Code flasher The core idea is simple. The project listens to what's happening on Twitter, and displays selected tweets by flashing the contents in Morse Code. You could do this using the Pi on its own, or the Arduino on its own, but the project is easier and more reliable if you combine the strengths of both platforms. Why the Pi? It's possible to run a Twitter client on the Arduino but you're pushing the hardware to its limits. I've found some Arduino Internet libraries to be unstable, and your application is likely to be using most or all of the Arduino's limited program and data memory. The Pi's memory is roughly a million times larger than the Arduino's RAM, and Internet applications are ...

More Arduino workshops coming soon

Image
Shrimp and Pi I'm excited that I've been asked to run a workshop in April at #CG3 - the next Covent Garden Jam. Contents and date to be decided, but I've had at least one request for a Shrimp and Pi session, which would be a lot of fun. There are a couple of ways that you can connect the Shrimp to a Raspberry Pi. You can use the CP2102 USB-to-serial converter normally used to program the Shrimp, or connect the Pi's serial port on the expansion header to the header on the Shrimp. Either way you can then program the Shrimp via the Pi using the Arduino IDE, and use Serial communications to send data between the Pi and the Shrimp. I have a fun application in mind, and it should be easy to set up as it combines one of my first bits of software on the Pi with a sketch from my Life after Blink workshop (see below). I'll tell you more when I've got it running :) Shrimping It solo! A couple of people have lamented that they couldn't attend last Satu...

Another Splendid Shrimpy Southend Raspberry Jam

Image
Last Saturday I went to the monthly Raspberry Jam at Southend-on-Sea to run another Shrimping It! workshop. I've run several of these before but this is the first one I've run at an event that focusses on the Raspberry Pi . Arduino and Pi There's a growing interest in using Arduinos (or clones) in tandem with the Raspberry Pi.  Cefn Hoile, father of the Shrimp Arduino clone, has even co-authored a book on the subject . Alex Eames, of RasPi.TV fame, has a project called RasPiO Duino on Kickstarter . Its Arduino-compatible board sits on the Raspberry Pi header, and you can program and control the AVR chip from the Raspberry Pi. The Kickstarter is still open. If you want a RasPiO Duino, back it today ! I've been keen on the approach for a while, and I use it in C3Pi. It's not surprising that many Raspberry Jams now encourage talks and workshops on the Arduino, and that's why I was at the Southend Jam. Making the Shrimp and other attractions I...

C3Pi - Fun and Frustration at the Elephant and Castle

Image
C3Pi from above I went along this morning to the Elephant and Castle Mini Maker Faire to introduce C3Pi to some of my fellow makers. The event was extremely well organised and I had no problem finding my desk and setting up. Before long C3Pi was running through his paces - fairly limited at the moment, as he still has no sensors and is controlled by a very simple command line interface. That's about to change, thanks to Joe Walnes' brilliant websocketd - more details below. In spite of his limited repertoire C3Pi soon made new friends and performed admirably. It's always a little nerve-wracking when he runs on a desktop. He has been known to get over-excited and career off in unexpected directions, but this morning he behaved himself... Power problems ... until just before lunchtime, that is. I'm still not certain what happened, but I think C3Pi's batteries ran low. What I know is that the ssh session connecting my laptop to the Pi suddenly starte...

C3Pi: The Teensy and Motor Driver are talking

Image
C3Pi Teensy 3.0 and Motor Driver At the end of the previous post I let myself get a bit carried away! C3Pi has always used a Solarbotics motor driver. In the past it's been controlled by an Arduino Pro Mini. While the software for the Teensy is very similar, I needed to make a couple of changes to the code and more significant changes to the pinout. Slow and steady So my rush to solder up some stripbaord was premature. I've breadboarded the circuit instead. I've now got the Teesny 3.0 controlling it, and the Teensy is controlled by serial input. Since I've already checked that the Pi can drive the Teensy's serial port, I'm ready to go. Tomorrow's plan Tomorrow I will prepare the stripboard, connect the motors and take C3PI for his first outing. Initially I will control C3Pi via ssh over wifi. Come back tomorrow to find out how the project is going. If you want to meet C3Pi in person, come along to this Saturday's Southend Raspberry J...

C3PI: the Pi and Teensy are talking

Image
The Pi and the Teensy are talking. The Teensy is running the fortune cookie sketch. I've been using pyserial on the Pi, and using interactive python. Here's a screenshot of an ssh session on the Pi: Next Step Next I'm going to solder up a mini-stripboard for the Teensy.

C3Pi - the Raspberry Pi meets Teensy 3.0

Image
Teensy 3.0 Yesterday I started to set up the C3Pi's new brains - the Raspberry Pi model B+, with its lower power requirements, extra mounting holes and four USB ports. The USB ports are really useful; while I'm developing the new software, I need to connect a keyboards and mouse,  a wifi dongle and the Teensy 3.0 which will be used for motor control and other tasks. Teensies rule If you haven't come across the Teensies they are Arduino-compatible miniature boards developed by Paul Stoffregen . The early Teensies used ATmega chips, but the Teesny 3.0 and 3.1 use ARM processors. Paul has done an amazing job of extending the Arduino IDE and porting many of the libraries to work with the ARM chips. As a result the Teensy family are just as developer-friendly as the original Arduinos. The main attraction of the Teensy 3.0 is that it's faster, has more I/O, and much more RAM than the Arduino Pro. The fact that the Teensy runs at 3.3 volts is an added bonus, since i...

C3Pi gets a wifi update

Image
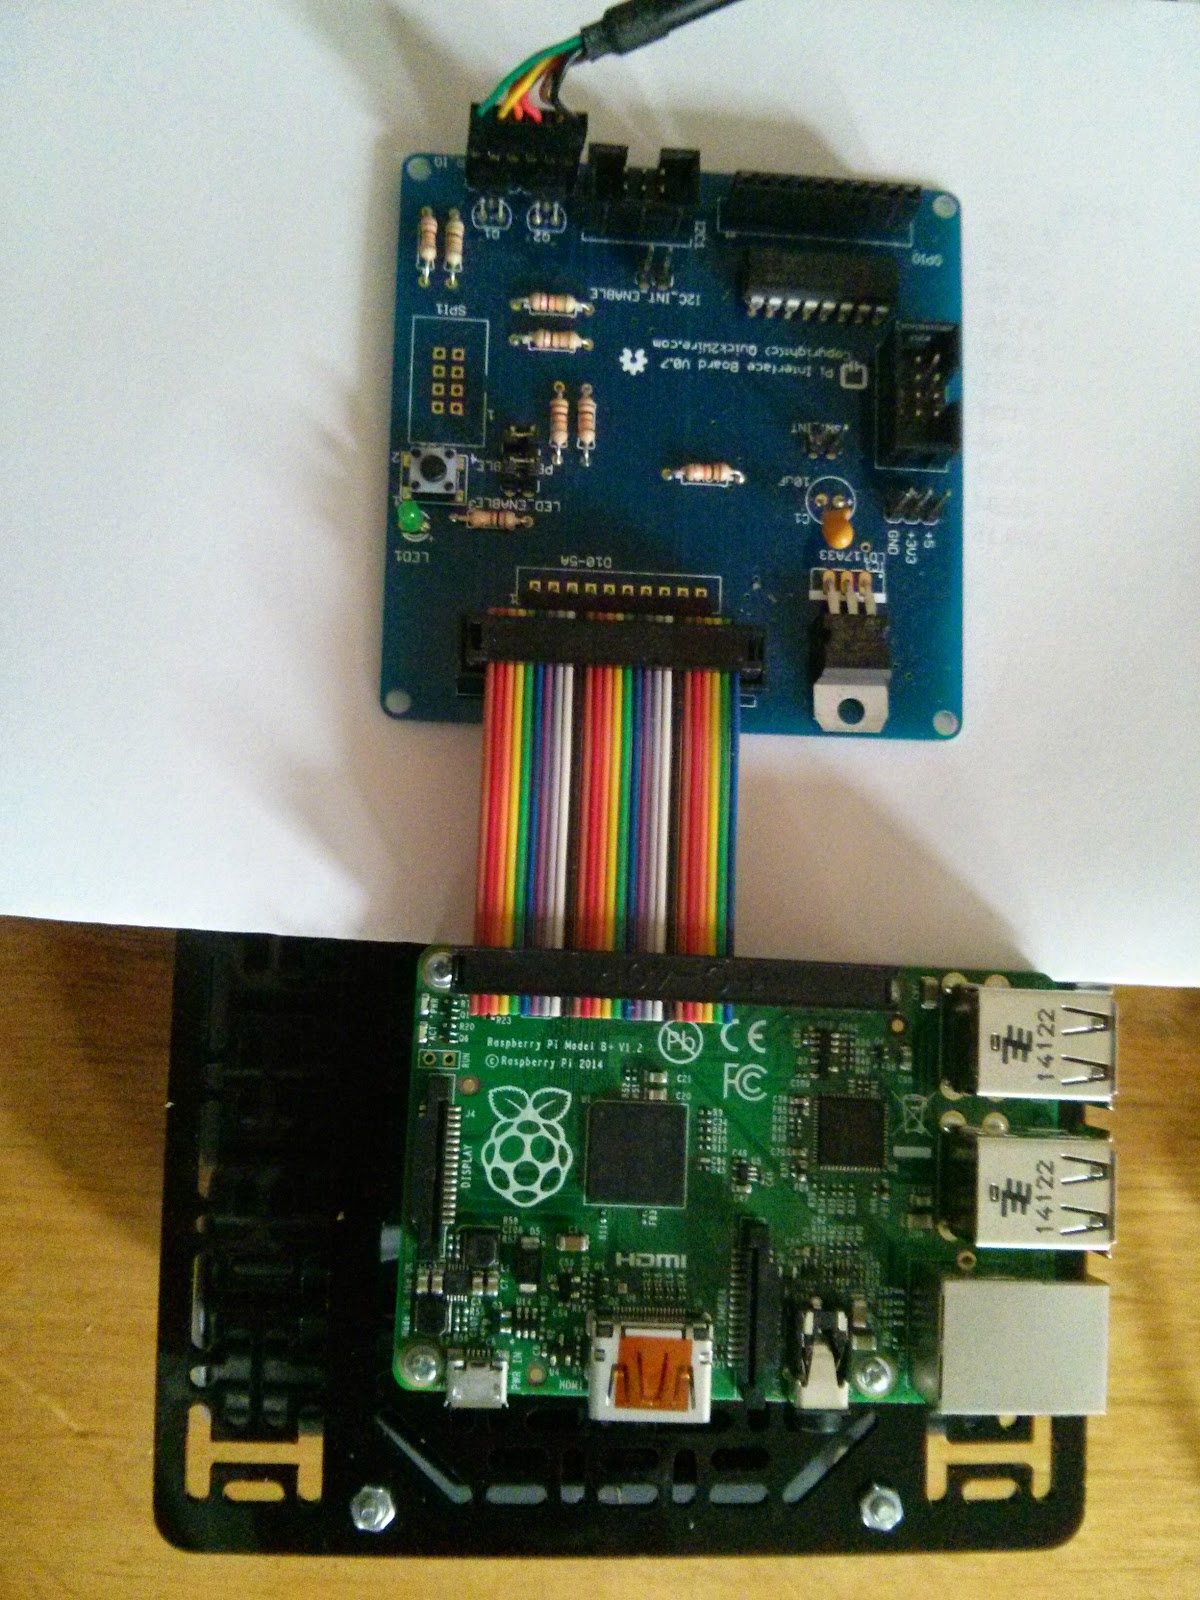
C3Pi B+ Pi, Quick2Wire board and downverter I'm busily working on C3Pi ready for his outing to the Raspberry Jam at Southend this Saturday. I'll be setting up my own mini-wifi network, but sometimes wifi doesn't work as it should. I need a way of configuring the Pi that doesn't rely on networking, just in case. When the Raspberry Pi model B+ first came out I built a  downverter - a cable which links the 40-pin header on the B+ to the old-style 26-way connectors. I linked it to a Quick2Wire interface board and plugged in an FTDI cable, which I connected to my laptop's serial port. Once I'd installed gkterm on the laptop I could log in to C3Pi using the serial console. So now I have a safety net! I don't think I'll need it, as I've also got the laptop, my phone and C3Pi chatting away happily on the private network, but it's good to know I've got options. I'm hoping to control C3Pi via a tablet or phone at the Jam, and for the ...

C3Pi gets a Raspberry Pi B+ and a face lift

Image
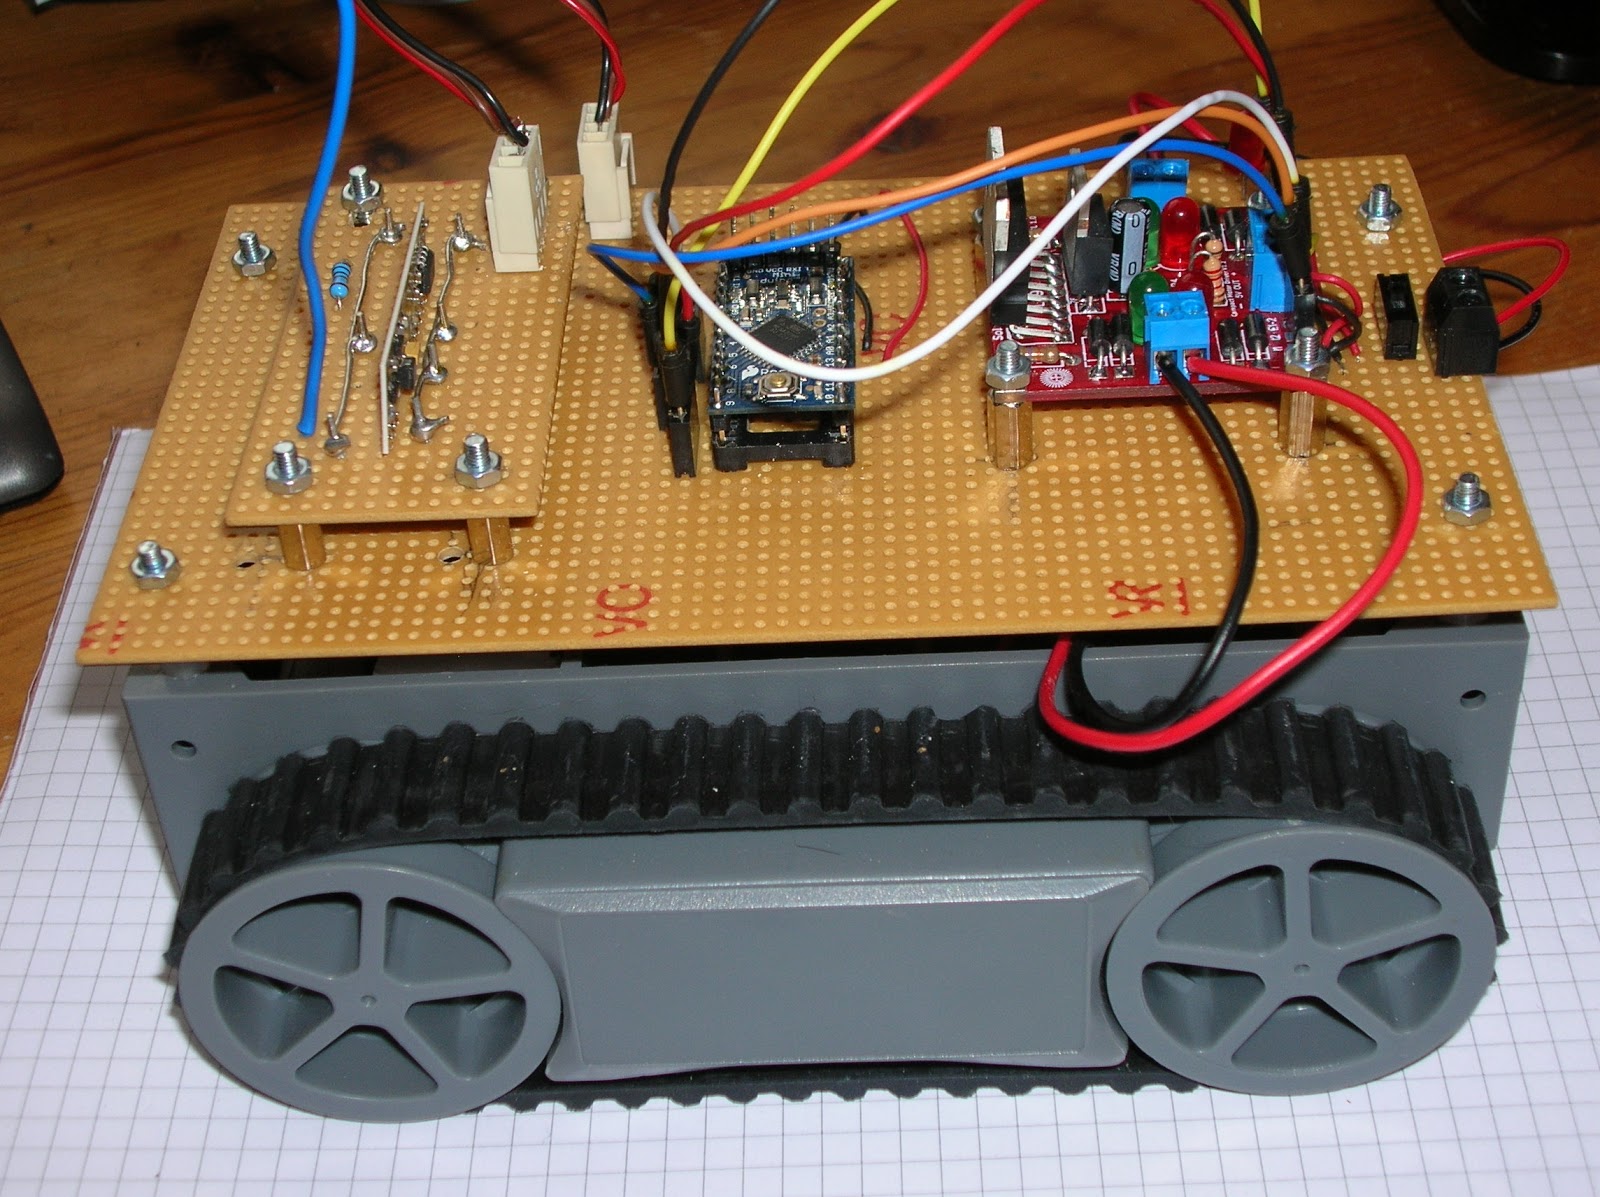
C3Pi+ C3Pi , the tracked robot that I've been working on for several years , just got a new brain: a Raspberry Pi model B+. The old version used a Model B with an Arduino micro. This one will probably use a Teensy 3.0 as the Pi's companion. (Less) Power to the Raspberry Pi The main reason for upgrading the Pi is the reduced power consumption, but the extra mounting holes also appealed. I took the opportunity of replacing C3Pi's old stripboard top with a proper pololu board, and the result looks much neater. I've added the motor controller which also provides a regulated 5v supply. My next job is to make a small circuit board to hold the Teensy and provide connection points to the Pi and the controller. C3Pi at Southend - Saturday 12 August C3Pi will be making an appearance at Southend this Saturday. The Southend Raspberry Pi Jammers are holding a big summer meeting, and C3Pi will be one of the many attractions. Book your tickets here !

Raspberry Pi Model B+ issue (and solution)

Image
Raspberry Pi Model B+ I've hit a bit of a hardware compatibility problem with the new Raspberry Pi Model B+ When my new Raspberry Pi B+ arrived yesterday I started wondering about the software implications . I wanted to verify that the Quick2Wire, Adafruit and Raspi.GPIO libraries work as intended on the new boards, but instead I hit a problem with the new hardware layout . The new design has 40 GPIO pins, and the people at Pi Towers have arranged that the first 26 pins have the same function as they did before. But... Twenty-six onto forty won't go! I naively imagined that this would mean I could just plug in a 26-way connector onto the correct end of the 40-pin header. It doesn't work , at least with the cables I've tried. The female sockets are so wide that they won't sit down on the 40-way header. You'd have the same problem with the cables supplied with Adafruit's cobbler, as they use standard-width IDC connectors. And the PiFace won...

Raspberry Pi Model B+ version detection

Image
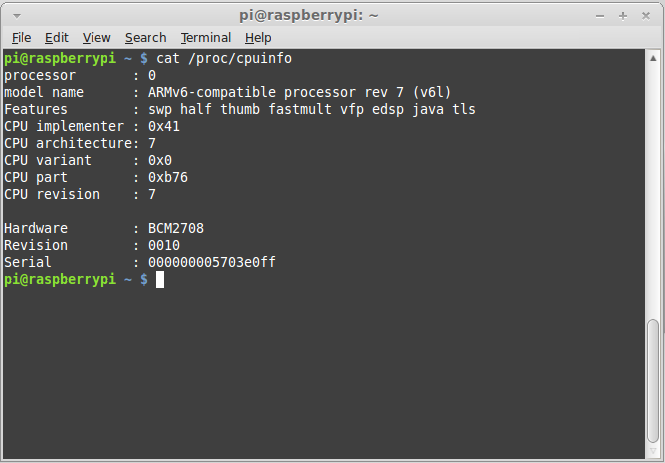
First, the good news. Existing code that relies on my revision detector script will work with Raspberry Pi Model B+. I'd forgotten how hacky my version detection code was. It assumes that if a board isn't revision 1, it must be revision 2. Here's the contents of /proc/cpuinfo for the new boards >> So the current detector thinks that boards are rev 2, and existing code will work because the layout for the first 26 pins on the Raspberry Pi header has not changed. What the current code won't do is let you know that you've got an extra 14 pins to play with. Fixing this requires two sorts of change: one to the detector (which is easy) and one to whatever code is using it. I'll take a look later in the week at what work will be needed to get the Quick2Wire GPIO code to give access to the extra pins, but before that I will check that current I2C code works OK. That too will need a (trivial) change to work correctly with a version of the detector th...

Raspberry Pi Model B+ first impressions

Image
and a worry! Farnell element14 have just delivered my new Raspberry Pi Model B+, along with some 40-way connectors. The Pi is destined for C3Pi , my Pi+ Arduino tracked robot. The main benefits of the Raspberry Pi B+ for C3Pi are the extra USB sockets and the reduced power consumption. I can see all sorts of possibilities created by the 40-way extended GPIO header, but I don't expect to take advantage of those in C3Pi. Unboxing the Raspberry Pi model B+ Raspberry Pi Model B+ Here is the Pi model B+. It's familiar, yet subtly different from its predecessors. It has a neater look about it and the 2x20 rows of GPIO pins are clearly ready for some serious work. I have one big question, which I hope to answer shortly: what is the hardware revision of the new board? Will some Python libraries crash on the Model B+? The board revision matters more than you might think. Back in the days when I was running Quick2Wire I came up with a little Python script you cou...