Posts

Showing posts with the label Pimoroni

Draw pictures on your Pico!
Image
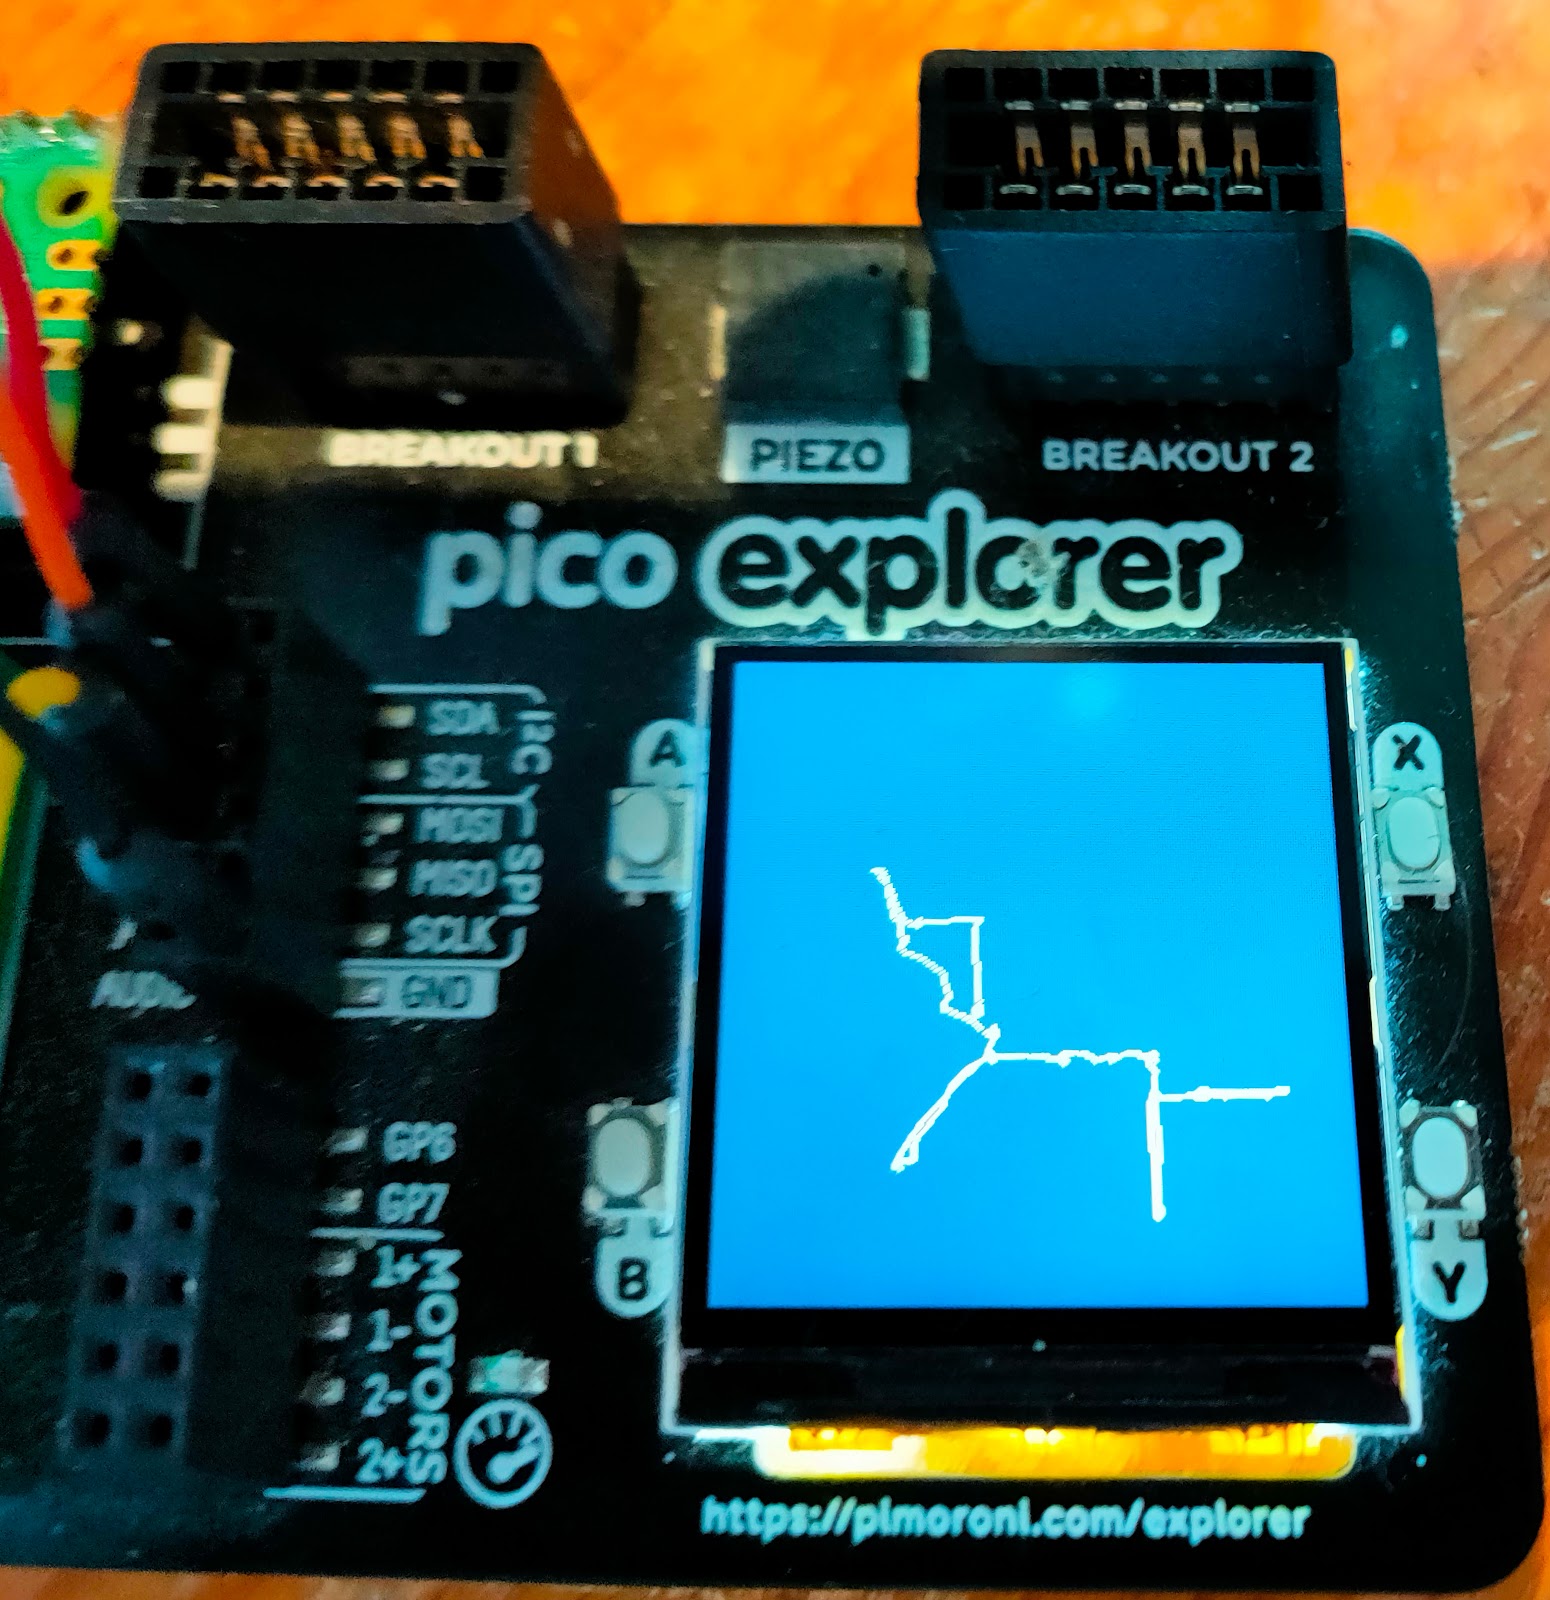
Would you like to draw pictures on your Pico?  A while ago I experimented with sketcher - a program for the Rasperry Pi Pico that connected to a Raspberry Pi. The Pico had two potentiometers that you could use to move a virtual pen in the Pi; the Pi ran the turtle graphics package which it used to draw the pictures. The project was fun, and I wondered how easy it would be to run a similar program that would use a display with the Pico. That potential project sat in my pending tray for ages, but I recently got an incentive to re-visit it. A new resource Pimoroni have asked me to write a booklet for their Pico Explorer Base . I've been a fan of the product since it first came out, and I'm really enjoying a chance to revisit its awesome capabilities. I decided I'd write a simple sketcher program that ran on the Pico. It uses two potentiometers to move a virtual pen up/down and left/right. The pen draws on the Explorer base display. I've now got a simple version running, a...
More Raspberry Pi Pico experiments

Image
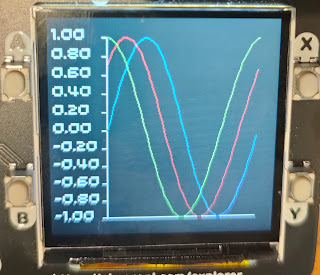
If you're exploring the Raspberry Pi pico, here are some more resources MicroPlot I've started a new project called MicroPlot. It's been developed on the Pico though it will eventually work on other  micro-controllers and computers. It's a minimal plotting package and it already has enough functionality to be useful. It will plot simple line plots; the first example below is a series if sine waves and the second shows the voltage across a capacitor as it charges and discharges. Plotting Sine waves Capacitor charging and discharging MicroPlot has its own project on GitHub. You can read about it and download the code at https://github.com/romilly/microplot and I will be soon be using it for some more electronics experiments. Using the UART The current MicroPython documenation for the Raspberry Pi Pico is a bit thin on detail about using the UART. I've added a short example in my pico-code project on GitHub. The Tiny2040 is available from Pimoroni! Pimoroni Tiny2040 I...

Review: Get started with MicroPython on Raspberry Pi Pico

Image
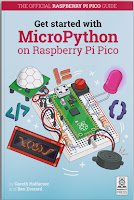
If you want to explore the Raspberry Pi Pico you'll find it really easy to get started. On the day of the announcement the Raspberry Pi  Foundation released excellent documentation.The Raspberry Pi press also published a great starter guide:  Get started with MicroPython on Raspberry Pi Pico . It's a super book. The authors are professional journalists and experienced Pi enthusiasts, and it shows! The book covers everything a beginner needs to know to start exploring Physical Computing with the Pico. A guided tour of the Pico Chapter 1 starts with a guided tour of the board. Next it explains how to solder the headers you'll need if you want to use the Pico with a breadboard. The soldering instructions are clear enough for a novice to follow. The book wisely warns younger users to make sure they are supervised by an adult. It's easy to burn yourself badly with a hot iron while you're learning. The chapter finishes with clear instructions that tell you how to install ...

Getting started with the Raspberry Pi pico

Image
I'm always excited when Eben Upton pulls another Raspberry Pi rabbit out of his capacious topper. Last week he announced the $4  Raspberry Pi pico . It's a unique product for several reasons, and I put an order in as soon as I saw the announcement. It's easy to get the pico going The pico's on-line documentation is superb and it's supplemented by an excellent and inexpensive book from Gareth Halfacree and Ben Everard. I did hit one minor 'gotcha'. I've been working on my main workstation which runs Linux Mint, and discovered the hard way that the Thonny Editor won't install properly if you're using Python 3.5 Python 3.5 has reached end-of-life, but it's still the default on Linux Mint 18.3. If I want to use a later version I have to set up a virtual environment. Once I did that, Thonny installed perfectly and within a couple of minutes I'd created a Hello World script and run it on the pico. If you're using a Raspberry Pi to program ...

I2C and SPI on the micro:bit; additions to the babelboard range

Image
micro:bit Keypad using I2C+ MC23008 For some reason there's not a lot on the web about using I2C and SPI with the BBC micro:bit. The I2C and SPI protocols allow single board computers like the micro:bit, the Raspberry Pi and Jetson Nano to drive hundreds of different types of useful peripheral chips. There are lots of widely available drivers for the Raspberry Pi, the Arduino and  Adafruit boards. I've seen fewer for the micro:bit, and I have started writing some more as part of my babelboard project . I am also building a babelboard for the micro:bit. The babelboard project Babelboards allow you to connect a range of I2C and SPI devices to several popular single board computers. The image on the right shows an mcp23S08 reading a hex keypad driven by a micro:bit using SPI. The micro:bit babelboard allows you to connect Grove I2C devices and the Quick2Wire port expander and analog boards. You can get adapters that connect Grove to Qwiik , so you can also con...

Totem - the Meccano replacement for 21C Makers

Image
Totem kit Totem and Pimoroni have combined forces to make my Christmas very early this year! Earlier this month I discovered Totem Maker kits . I bought a 2 wheel drive bluetooth robot and was delighted at how easy it was to assemble and drive. Totem are based on Vilnius, but my first order arrived quickly. I have a couple more robot designs in the pipeline and decided to use one of the larger Totem kits for prototyping them. Some of the kits are now stocked by Pimoroni , so I ordered one, along with the extra components I needed for the next robot. The kit appeared the next day. Instructions   The Totem kit is beautifully packaged and the instructions are outstanding: visually attractive, clear and easy to follow. I'll report on progress as I work on the robot design. I'll be showing the end result at next month's Margate Raspberry Jam and at the London Arduino Maker day in March. I'll post more details here as they become available. Jetson Nano U...

Raspberry Pi and BBC micro:bit for C2Pi

Image
Right now the Raspberry Pi and the BBC micro:bit look like a winning team. If you're f ollowing this blog you will know that I am evaluating new hardware and software for C2Pi (the re-generated C3Pi, neé Trackbot). Over the weekend I discovered that the micro:bit now supports MicroPython. Since I am looking for a micro that supports a language with a REPL, I had to investigate. MicroPython on the pyboard I've been a fan of MicroPython for a while. It runs on several platforms, including a custom board (the pyboard). I first met the pyboard, and Damien George, (its designer, and the original implementer of MicroPython) at an Open Technology conference in Cambridge a couple of years ago. I learned that MicroPython is a full, optimised implementation of Python 3; the only difference lies in MicroPython's specialised libraries, which  focus on direct access to the hardware. At the time I felt that the pyboard and MicroPython had great potential but I couldn...

More fun with the Pimoroni Explorer HAT

Image
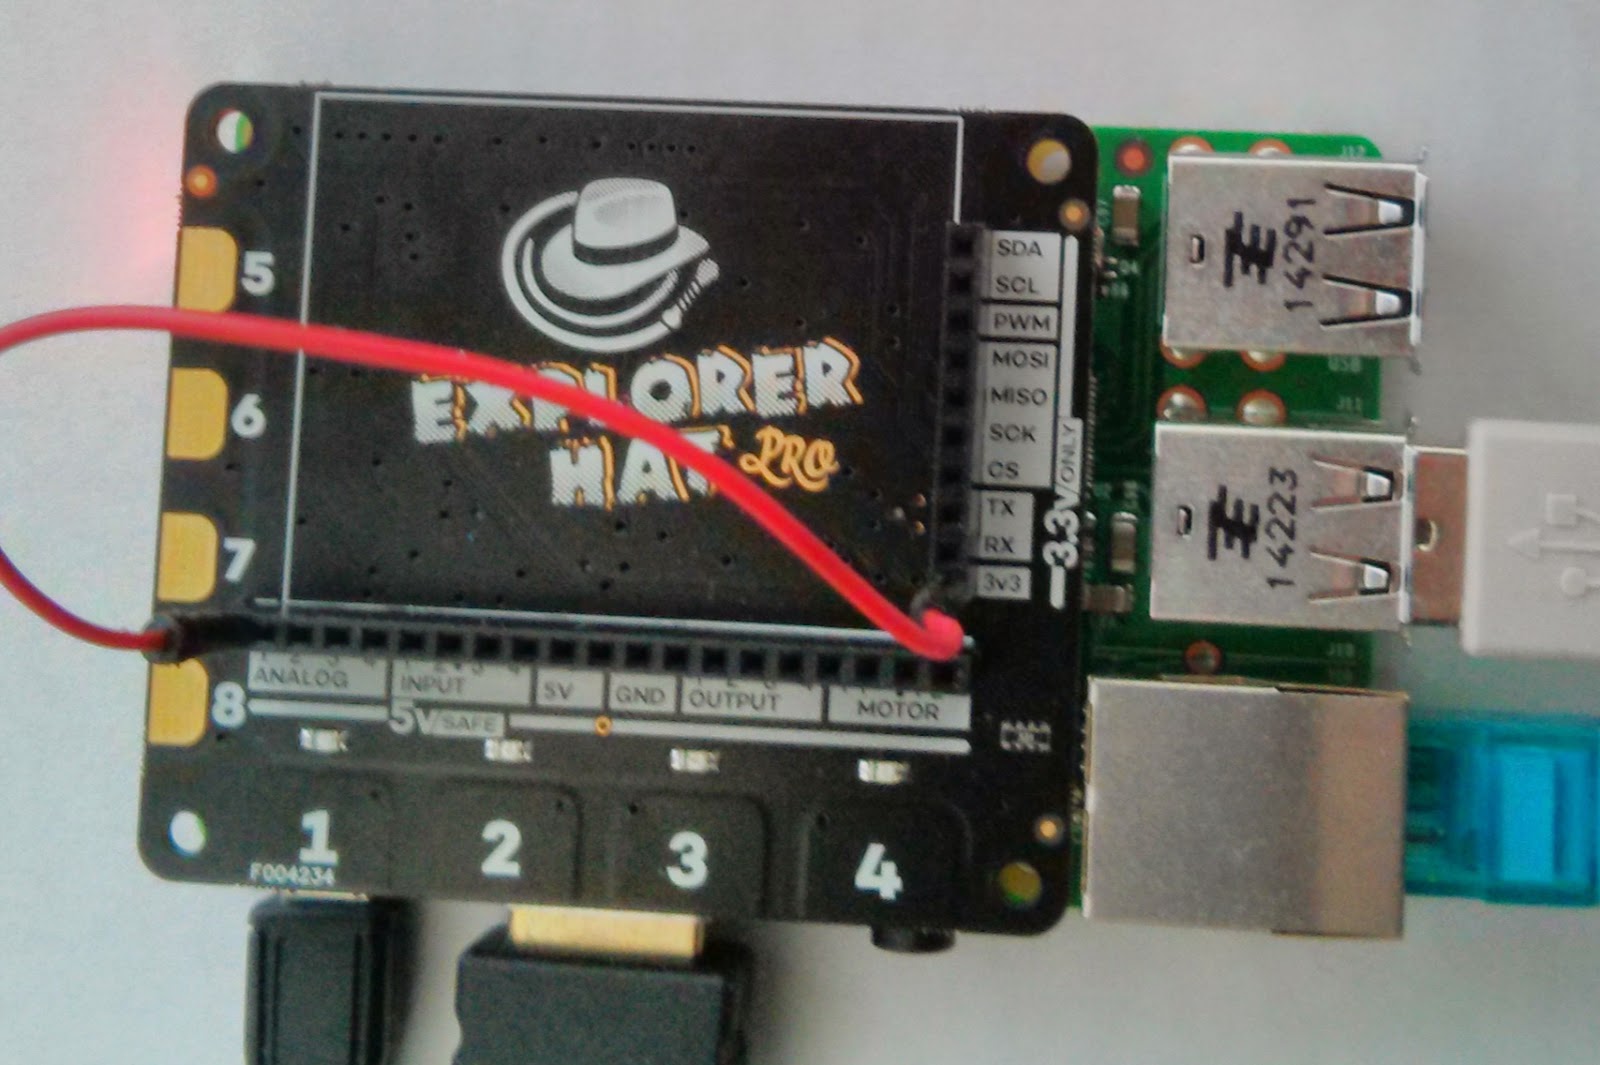
I've been playing a bit more with the new Pimoroni Explorer HAT . One of the most exciting features of the Pro version is the analogue interface. Once you've installed the ExplorerHAT package using pip, you can try typing in the examples in the README on github. If you want some more examples, you can clone the github repository into a directory of your choice. Then you'll be able to run the code from the examples directory. Type git clone https://github.com/pimoroni/explorer-hat.git cd explorer-hat sudo python examples/analog-event.py You'll see a series of rapidly varying numbers displayed in the console. These show the current voltage as seen on analogue input 1. Since you (presumably) haven't connected that to anything, the output will be fluctuating random values. To see something more sensible, use a jump wire to connect analogue input 1 to the Hat's 3.3 volt output, and you should see the display stabilize showing a value of about 3.3 ...

Pimoroni Explorer Pro Hat - first impressions

Image
This morning my new Explorer Hat from Pimoroni arrived, and the tempation to play has proved to much to resist. There are two versions of the Explorer Hat, standard and Pro. I greedily ordered one of each; the standard version is great for experimenting, but the Pro version offers several extra useful features. I started with the Pro. I love it. Here's what the Explorer hats provide: Four buffered 5V tolerant inputs Four powered 5V outputs (up to 500mA!) Four capacitive touch pads Four capacitive crocodile clip pads Four coloured LEDs PRO ONLY  Four analog inputs PRO ONLY  Two H-bridge motor drivers PRO ONLY  A heap of useful (unprotected) 3v3 goodies from the GPIO A mini breadboard on top! It took me a couple of minutes to get the environment set up The Readme on the github site tells you how prepare your Pi, and then walks you though some fun experiments. One thing to watch: the setup instructions suggest that you install pip by typin...