Posts

Showing posts with the label pico

Draw pictures on your Pico!
Image
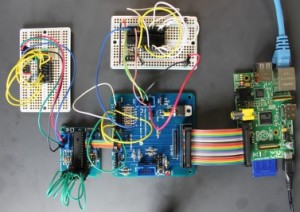
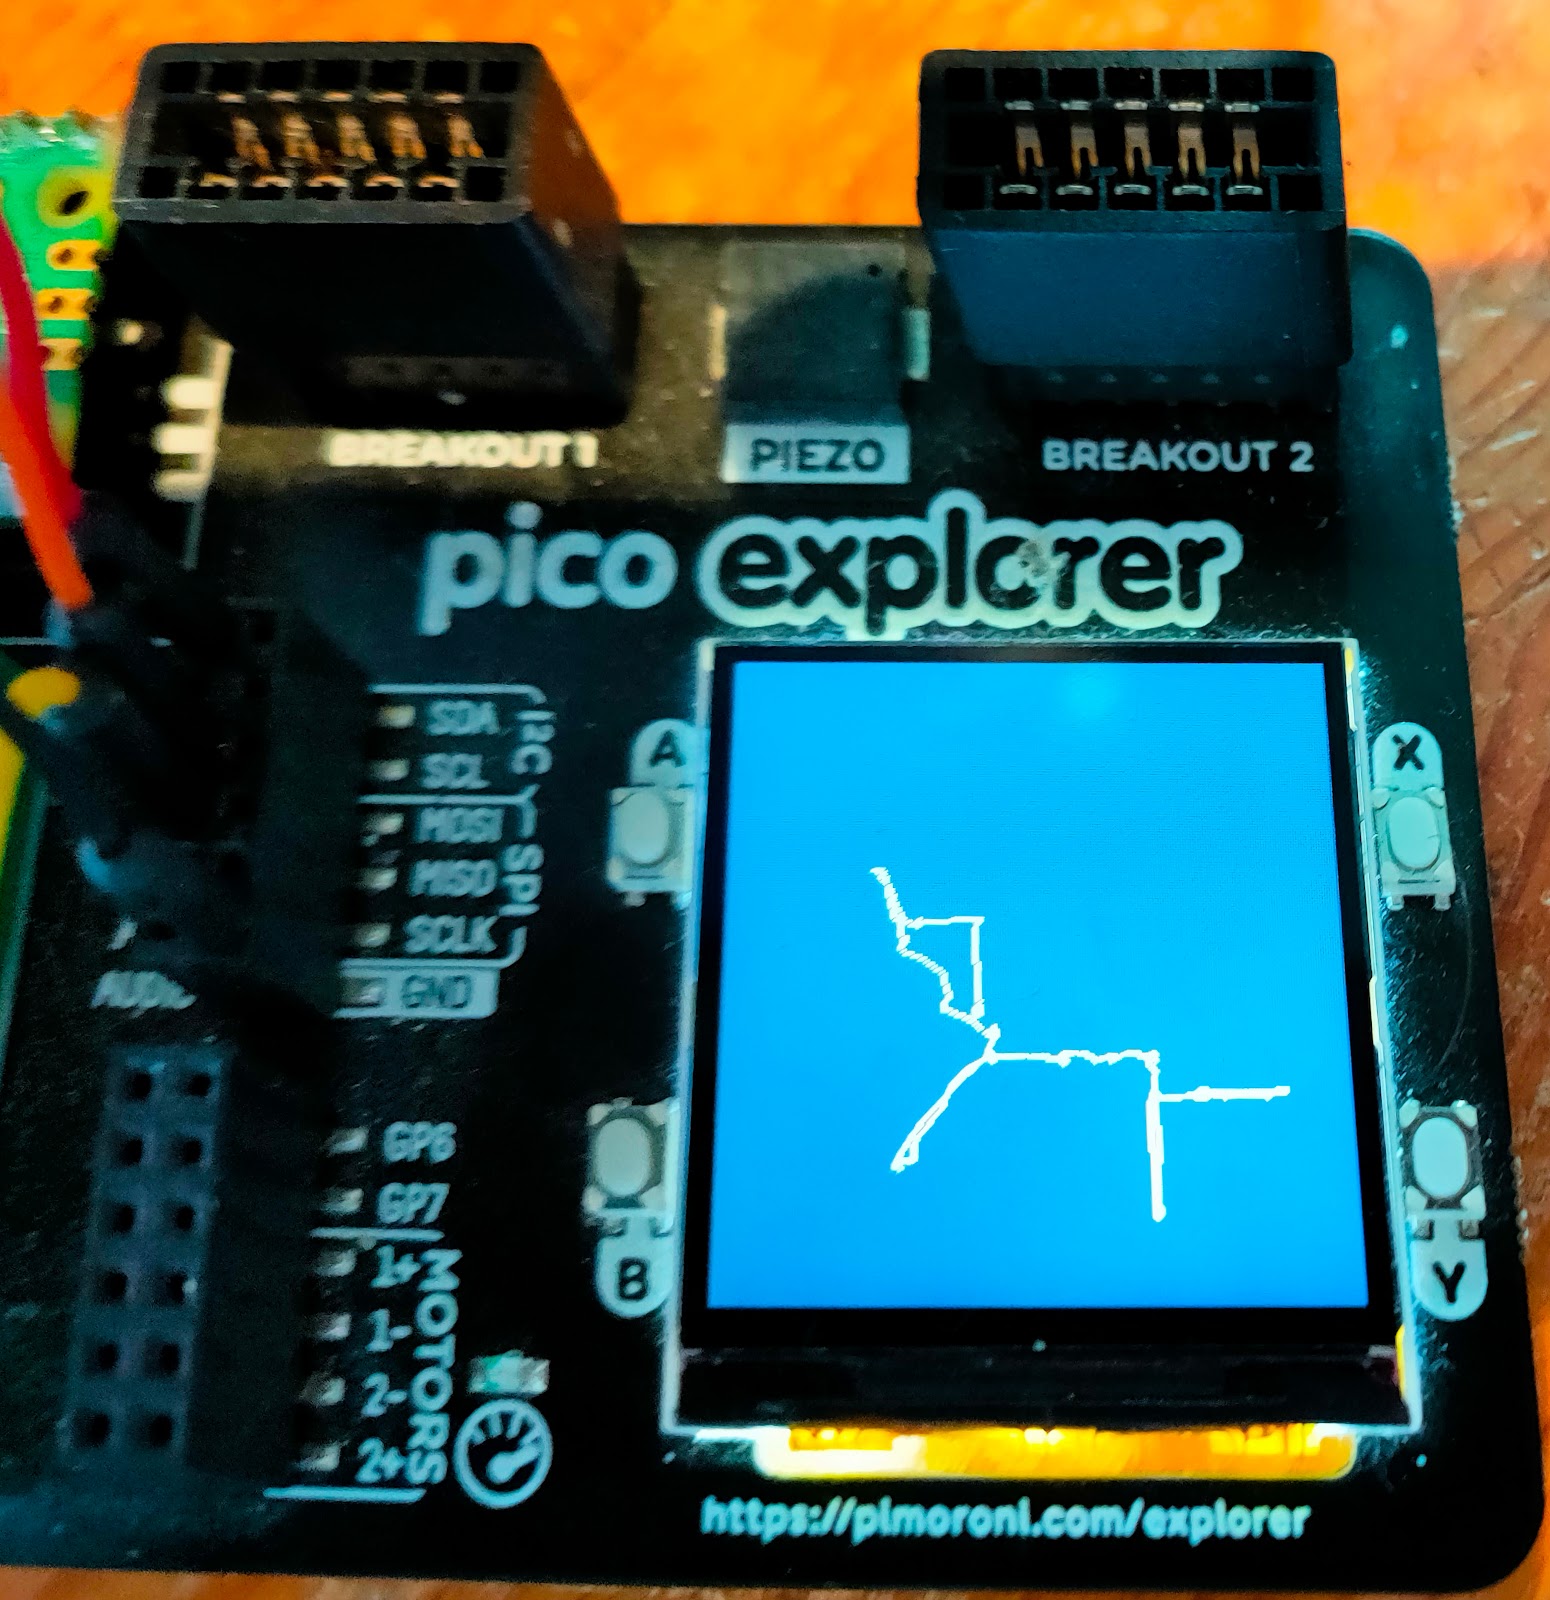
Would you like to draw pictures on your Pico?  A while ago I experimented with sketcher - a program for the Rasperry Pi Pico that connected to a Raspberry Pi. The Pico had two potentiometers that you could use to move a virtual pen in the Pi; the Pi ran the turtle graphics package which it used to draw the pictures. The project was fun, and I wondered how easy it would be to run a similar program that would use a display with the Pico. That potential project sat in my pending tray for ages, but I recently got an incentive to re-visit it. A new resource Pimoroni have asked me to write a booklet for their Pico Explorer Base . I've been a fan of the product since it first came out, and I'm really enjoying a chance to revisit its awesome capabilities. I decided I'd write a simple sketcher program that ran on the Pico. It uses two potentiometers to move a virtual pen up/down and left/right. The pen draws on the Explorer base display. I've now got a simple version running, a...

MicroPlot on the PyPortal - progress and frustration

Image
Update: I got a fix within minutes of posing the problem on the Adafruit discord channel! Here's the correct bitmap: The problem is now solved, MicroPlot now runs well on the Adafruit PyPortal and  Clue as well as the Pimoroni Pico Explorer base, but I've been tearing my hair out trying to solve a problem saving bitmaps. The bitmap problem Here's a screenshot of a display on the PyPortal together with the bitmap file which should show what's on the screen. I could not work out what's going wrong. The code creates the plot and then uses the screenshot code that Adafruit provides. import math from plotter import Plotter from plots import LinePlot import board import digitalio import busio import adafruit_sdcard import storage from adafruit_bitmapsaver import save_pixels def plot(): sines = list(math.sin(math.radians(x)) for x in range(0, 361, 4)) lineplot = LinePlot([sines],'MicroPlot line') plotter = Plotter() lineplot.p...

More Raspberry Pi Pico experiments

Image
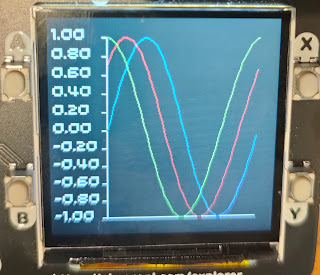
If you're exploring the Raspberry Pi pico, here are some more resources MicroPlot I've started a new project called MicroPlot. It's been developed on the Pico though it will eventually work on other  micro-controllers and computers. It's a minimal plotting package and it already has enough functionality to be useful. It will plot simple line plots; the first example below is a series if sine waves and the second shows the voltage across a capacitor as it charges and discharges. Plotting Sine waves Capacitor charging and discharging MicroPlot has its own project on GitHub. You can read about it and download the code at https://github.com/romilly/microplot and I will be soon be using it for some more electronics experiments. Using the UART The current MicroPython documenation for the Raspberry Pi Pico is a bit thin on detail about using the UART. I've added a short example in my pico-code project on GitHub. The Tiny2040 is available from Pimoroni! Pimoroni Tiny2040 I...

MicroPython development on the Raspberry Pi Pico

Get Started with MicroPython on Raspberry Pi Pico  suggests that you use the Thonny editor for development. Thonny will get you off to a quick start, but you may have an alternative editor you'd prefer to use. Lots of my friends now use VS Code; some are vim or emacs experts; many, like me, use PyCharm as their normal Python development environment. I find it more comfortable to use my normal editor for MicroPython development, but I have more compelling reasons. The first is refactoring support. I'm learning as I go, and I often want to improve the design of my code libraries as I come to understand things better. PyCharm does a very good job of refactoring Python code. There's another issue to do with version control. I'm currently sharing my Pico code on GitHub. That means I need to keep code on the Pico in sync with the code on my workstation. I haven't found an easy way to do that with Thonny, so I am using another tool to move and test code. rshell was my fi...

Raspberry Pi Pico project 2 - MCP3008

Image
This post show you how to drive the MCP3008 8-channel ADC using a Raspberry Pi Pico. I'll start with a personally embarrassing and annoyingly relevant story. I'll also tell you about a minor 'gotcha' when using SPI on the Pico, and how you can avoid it. Finally, I've include the code and fritzing diagram I used to test the interface. First, the story. Back in 2012, when the Raspberry Pi was fresh and new, I was running a startup called Quick2Wire.  We made add-on boards for the Pi. Just before Christmas we sent out our first batch of boards to a small army of beta-testers. The beta boards didn't work. Somehow a single trace on the pcb had got deleted and one of the GPIO pins was isolated. The boards were still usable and it wasn't too hard to solder in a jumper wire to replace the missing trace, but it was very embarrassing. It wasn't just that we'd shipped boards with a defect. The really annoying thing was that I'd set up an  automated loop-bac...

Raspberry Pi Pico - simple projects

Image
Introducing fungen - an AF function generator. Lots of pioneers are now creating tutorials and sample projects for the Raspberry Pi Pico and the Pimoroni Tiny2040. One of my first mini-projects is fungen - a Pico-based AF (audio frequency) function generator that uses the Pico's PIO (programmable I/O) to generate a waveform. The Pico's head start The Pico was announced just a few days ago. It arrived out of the blue complete with lots of interesting add-ons available, and with excellent documentation. The reference documentation is full of useful examples, including several that take advantage of the Pico's powerful PIO. PIO allows users to set up custom input-output capability, and one of the examples shows how to use PIO to implement PWM (Pulse width modulation). The Pico already has plenty of PWM-capable pins, but I wondered if I could hack the PWM code to turn the Pico into a simple signal generator. Indeed you can, and that's how fungen works. I made a couple of mi...

Pi Pico emulating an Etch-a-sketch

Image
  One Christmas, long, long ago, someone gave me an Etch-a-sketch . I was a bit of a klutz then (indeed, I still am). I never produced great works of art, but the Etch-a-sketch was a lot of fun to play with. Yesterday I wondered how easy it would be to emulate an Etch-a-sketch using the Raspberry Pi Pico. Using PySerial to link Pi and Pico I’d just finished yesterday’s article about how to link a host to the Pico using PySerial. Why not get the Pico to print out how far two potentiometer knobs were turned,  read the output on the Pi using PySerial,  and use the Turtle package on the Pi to create the display? It sounded too simple to work, so I started coding with some trepidation. The first job was to connect a couple of potentiometers to the analogue inputs of the Pico. After that I wrote a short MicroPython program which read the analogue values and printed them out. Here it is: import machine import utime pot_l = machine.ADC( 27 ) pot_r = machine.A...

Controlling a Raspberry Pi Pico remotely using PySerial

Image
Update : I'm using thie code below in another project, and found that I had not correctly fixed the reported bug. The new version passes automated tests, and I am pretty sure it works OK. I have changed the name of the class to Talker  since it can both send and receive information. Apologies to all concerned for the bug! Introduction You can use a Raspberry Pi Pico as a powerful peripheral to a host - a Raspberry Pi, a Jetson Nano, a laptop or workstation. In this article you'll see how to interact with a Pico running MicroPython or CircuitPython by writing some Python code that runs on the host. The software is easy to use. It enables you to send a Python statement to the Pico and read the results. The statement can be any valid MicroPython code. Setting up the host and the Pico For this article I've used a Raspberry Pi as the host, but any computer running Windows, Linux or Mac OS will do so long as it has Python 3.5 or later installed. In particular, you can use this t...

Which Python should you install on your Raspberry Pi Pico?

Image
 The new Raspberry Pi Pico sold out soon after launch. One of the reasons it's so popular is that you can program it in Python. There are two versions of Python to consider: MicroPython and CircuitPython. Fortunately they are very easy to install or replace and they are very similar. Let's compare them so you can decide which to use. The Official guide to the Pico  (reviewed here )recommends that you install the official version of MicroPython. MicroPython has been around since 2014 , and it's been ported to quite a few boards. It was  created by Damien George, and he is responsible for the port to the Pico. If you're starting with MicroPython and  want to work your way through the Official Guide, use the official version. If you've been using MicroPython for a while you've probably heard of CircuitPython . It's based on MicroPython but  adapted by the inventive folk at Adafruit.  CircuitPython lets you run the same program on any supported board without ...

Five ways to connect Raspberry Pi and Pico

Image
The Raspberry Pi and Pico are each very capable, but sometimes you'll want to connect them together. For example, if you're building a robot you may want to use the Pi for computer vision, while relying on the Pico for predictable response times.  How can you get the Pi and the Pico to talk to each other? There are several possibilities, each with their own characteristics. You can connect them with a USB lead and use Thonny to talk to the Pico. That's very easy; it just uses the MicroPython REPL to control the Pico, bit it's very limited. If you've used the REPL to turn the Pico's on-board LED on and off, you've use this option already. You can connect the Pi to the Pico via USB and use a library called PySerial to send and receive data using a Python program that you write. That's a bit harder but much more flexible. You can connect the Pi and the Pico using their TTL serial interfaces - possible in theory, though I can't see much reason to do thin...

Review: Get started with MicroPython on Raspberry Pi Pico

Image
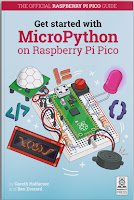
If you want to explore the Raspberry Pi Pico you'll find it really easy to get started. On the day of the announcement the Raspberry Pi  Foundation released excellent documentation.The Raspberry Pi press also published a great starter guide:  Get started with MicroPython on Raspberry Pi Pico . It's a super book. The authors are professional journalists and experienced Pi enthusiasts, and it shows! The book covers everything a beginner needs to know to start exploring Physical Computing with the Pico. A guided tour of the Pico Chapter 1 starts with a guided tour of the board. Next it explains how to solder the headers you'll need if you want to use the Pico with a breadboard. The soldering instructions are clear enough for a novice to follow. The book wisely warns younger users to make sure they are supervised by an adult. It's easy to burn yourself badly with a hot iron while you're learning. The chapter finishes with clear instructions that tell you how to install ...

Getting started with the Raspberry Pi pico

Image
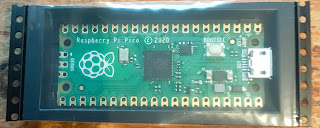
I'm always excited when Eben Upton pulls another Raspberry Pi rabbit out of his capacious topper. Last week he announced the $4  Raspberry Pi pico . It's a unique product for several reasons, and I put an order in as soon as I saw the announcement. It's easy to get the pico going The pico's on-line documentation is superb and it's supplemented by an excellent and inexpensive book from Gareth Halfacree and Ben Everard. I did hit one minor 'gotcha'. I've been working on my main workstation which runs Linux Mint, and discovered the hard way that the Thonny Editor won't install properly if you're using Python 3.5 Python 3.5 has reached end-of-life, but it's still the default on Linux Mint 18.3. If I want to use a later version I have to set up a virtual environment. Once I did that, Thonny installed perfectly and within a couple of minutes I'd created a Hello World script and run it on the pico. If you're using a Raspberry Pi to program ...