Posts

Showing posts with the label Hat

Explorer HAT update on its way!

Image
HAT and Keypad I am about to update my book about Pimoroni's excellent Explorer Hat. I've finished the code and the Frizing diagrams for all the planned projects. The next step is to write the remaining chapters that describe them, and I hope to publish a couple of those later this week. The image on the right shows one of the new projects: a 12-key numeric keypad controlled by the Explorer HAT. The price for the book is still just $5 (+ VAT for EU buyers) but I'll have to raise the price once I've added more content.  You can buy the book through LeanPub, so you get a 45-day no-hassle money-back guarantee and you'll get future updates to the book at no additional cost! If you want to make the most of the Pimoroni HAT, don't wait - get the book while the price is still just $5!
More fun with the Pimoroni Explorer HAT

Image
I've been playing a bit more with the new Pimoroni Explorer HAT . One of the most exciting features of the Pro version is the analogue interface. Once you've installed the ExplorerHAT package using pip, you can try typing in the examples in the README on github. If you want some more examples, you can clone the github repository into a directory of your choice. Then you'll be able to run the code from the examples directory. Type git clone https://github.com/pimoroni/explorer-hat.git cd explorer-hat sudo python examples/analog-event.py You'll see a series of rapidly varying numbers displayed in the console. These show the current voltage as seen on analogue input 1. Since you (presumably) haven't connected that to anything, the output will be fluctuating random values. To see something more sensible, use a jump wire to connect analogue input 1 to the Hat's 3.3 volt output, and you should see the display stabilize showing a value of about 3.3 ...

Pimoroni Explorer Pro Hat - first impressions

Image
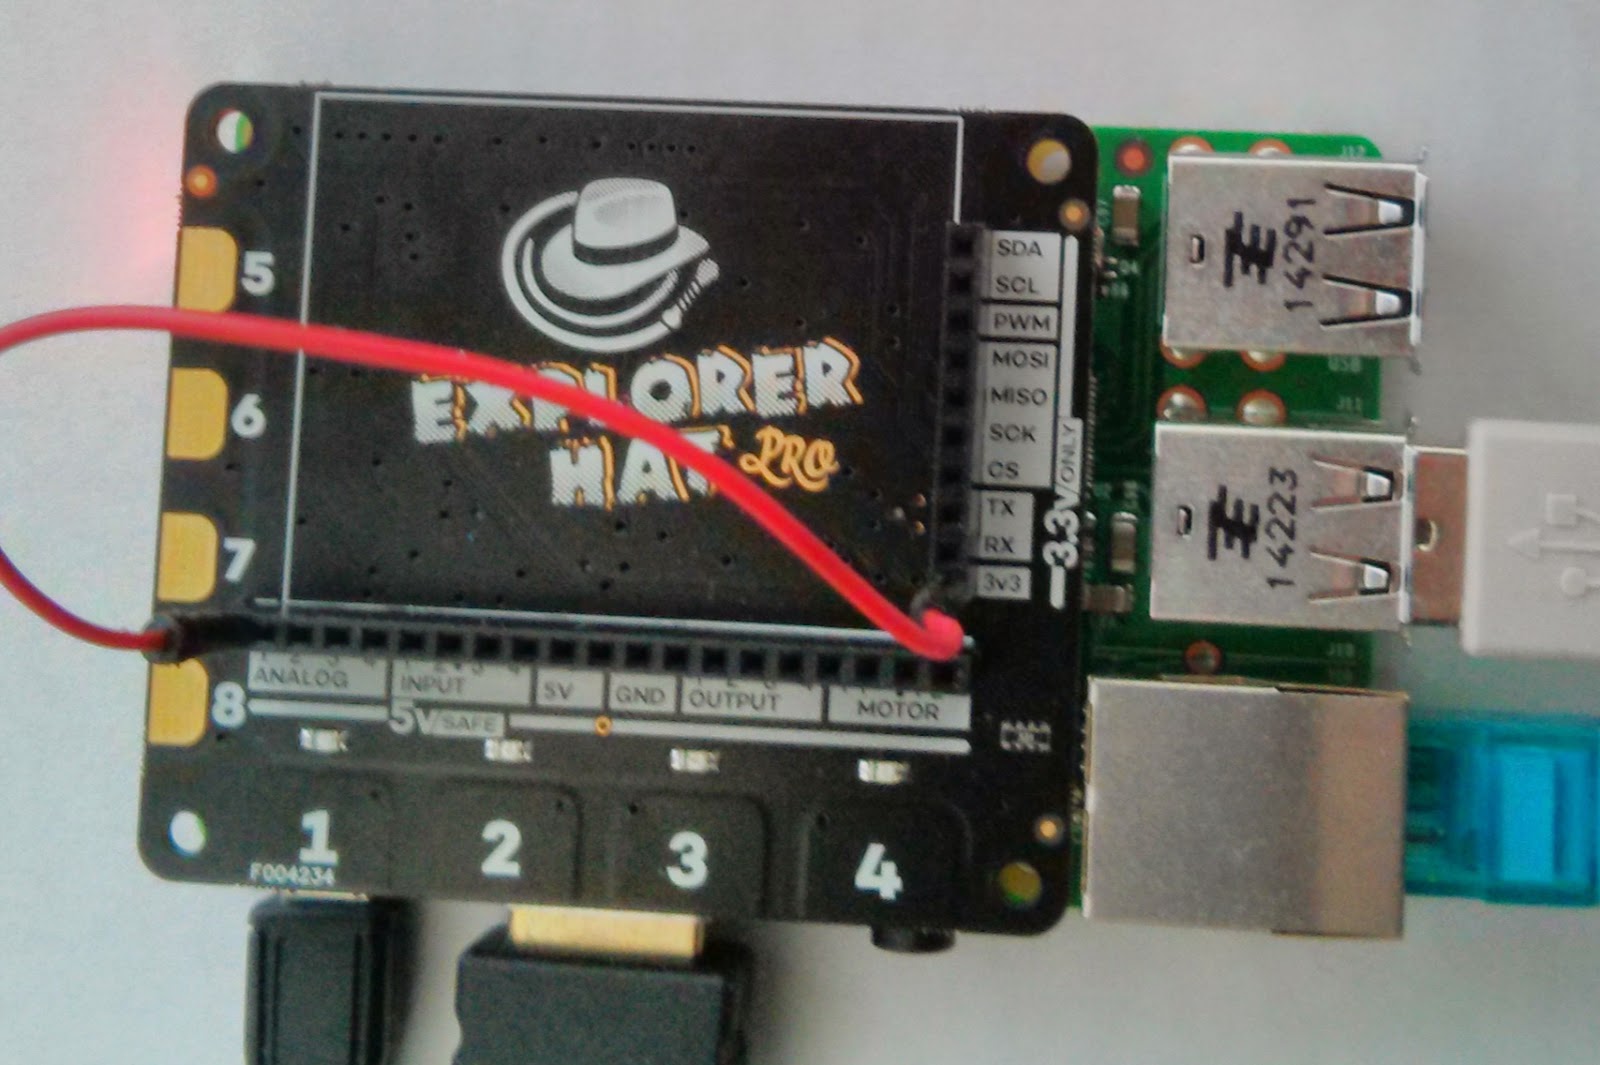
This morning my new Explorer Hat from Pimoroni arrived, and the tempation to play has proved to much to resist. There are two versions of the Explorer Hat, standard and Pro. I greedily ordered one of each; the standard version is great for experimenting, but the Pro version offers several extra useful features. I started with the Pro. I love it. Here's what the Explorer hats provide: Four buffered 5V tolerant inputs Four powered 5V outputs (up to 500mA!) Four capacitive touch pads Four capacitive crocodile clip pads Four coloured LEDs PRO ONLY  Four analog inputs PRO ONLY  Two H-bridge motor drivers PRO ONLY  A heap of useful (unprotected) 3v3 goodies from the GPIO A mini breadboard on top! It took me a couple of minutes to get the environment set up The Readme on the github site tells you how prepare your Pi, and then walks you though some fun experiments. One thing to watch: the setup instructions suggest that you install pip by typin...