Pages

Wednesday, 29 April 2015

The Greenhouse project - Websockets, Pi, Wireless, Arduino

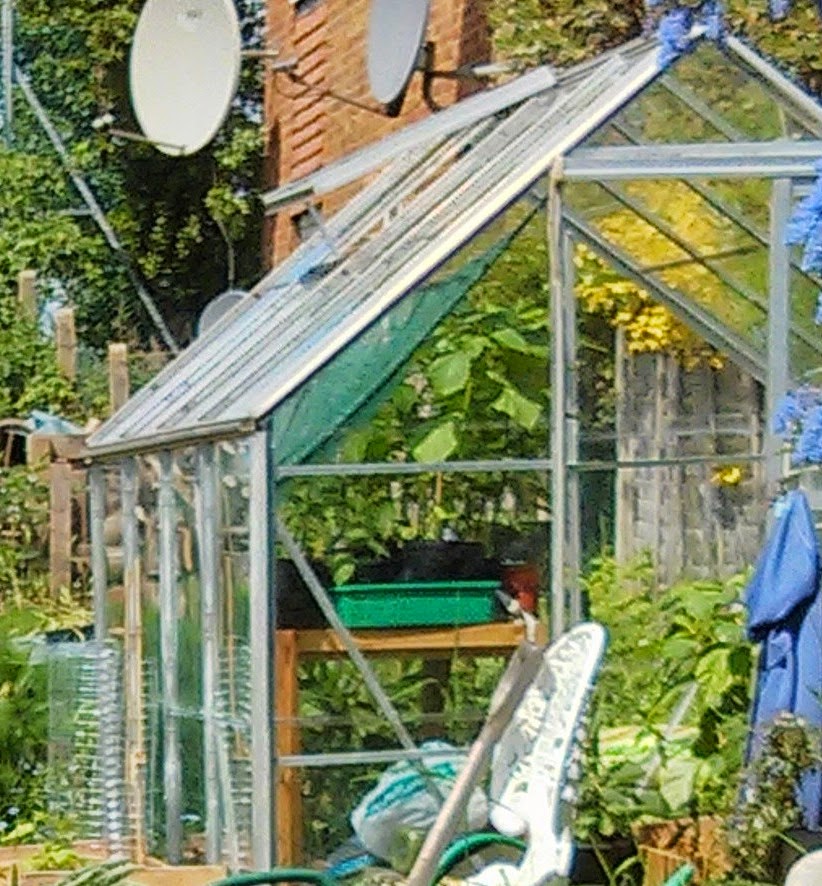
I went along to the Raspberry Pint meetup last night. It's a lively and friendly group, and I'll be going again next month.

I'd been asked to do a lightning talk, and gave an update about my Greenhouse monitor project.

The background

My wife and I have an allotment that's just over half a kilometre from our flat. On it there's a greenouse. At this time of year the greenhouse is full of tender seedlings and my wife likes to protect them from fluctuations in temperature.

I've been working on a remote battery-powered monitor which will live in the  greenhouse and transmit temperature data over wireless (not WiFi) to a Raspberry Pi at home. The Pi will log the data and display historic values on a website which we can view from a browser or smartphone.

Testing the range

I'm currently using a +Wireless Things XinoRF talking to a Slice of Radio board attached to the Pi. I need to verify that the transmitter is powerful enough to send a signal that the home-based Pi can receive reliably.

I've a simple idea for checking the range. I'm going to send data every second from the XinoRF and display it on a web page on the Pi. The I shall walk from home to the greenhouse carrying the XionoRF. I'll watch the page on my phone and check that the signal is still being picked up by the Pi at home.

The code

There's a simple sketch on the Xino which currently transmits every second. The message displays the battery voltage and a steadily increasing count so I can easily see if a message is lost.

Here's the sketch:

// declare pin to enable radio
const int RADIO_ENABLE = 8;
// divided battery input connected to A5
int BATTERY_INPUT = A5;
// declare message count and initialise to zero
int count = 0;
int sensorValue = 0;
float scale;


void setup() {
  scale = (1.56/0.56) * 5.0/1023; 
  // enable radio.
  pinMode(RADIO_ENABLE, OUTPUT);
  digitalWrite(RADIO_ENABLE, HIGH);
  // start communication at 115200 baud
  // that's the default for the Xino on external power
  Serial.begin(115200);  
}

// the loop routine runs over and over again forever:
void loop() {
  // read battery voltage and convert to volts
  float batteryVoltage = scale * analogRead(BATTERY_INPUT);
  // print message and count
  Serial.print(batteryVoltage);
  Serial.print("V - ");
  Serial.println(count++);
  // wait for a second
  delay(1000);
}

On the Pi I read this from a serial port using PySerial and log it to a file. Here's the Python code:

#! /usr/bin/pythonimport serial

radio = serial.Serial(port='/dev/ttyAMA0')

while True:
    with open('greenhouse.log','a') as log:
        try:
            log.write(radio.readline())
            log.flush()
        except KeyboardInterrupt:
            radio.close()
            exit()

Once I've started this I can see the growing logfile by running

tail -f greenhouse.log

from the command line.

I could just use ssh to open a terminal from my mobile phone, but I don't like the idea of exposing an ssh port on the Pi. It's easy to forget to change the Pi's default password!

There are lots of ways to display the log file via a web page, but most of them involve more work than I want to spend on a simple test.

webscocketd to the rescue

There's a really easy way to do that. My friend +Joe Walnes  has written a neat piece of software called websocketd. This allows you to instantly create a websocket server from any command line program that reads from or writes to standard output.

On the Pi I run

websocketd --port=8080 tail -f greenhouse.log

and any browser that connects to the server on my Pi will see each message received by the Pi.

The html page to display the websocket data is stolen borrowed straight from the websocketd README on GitHub. Here it is:

<html>
<head lang="en">
    <meta charset="UTF-8">
    <title>Greenhouse monitor</title>
</head>
<body>
<pre id="log"></pre>
<script>
  // helper function: log message to screen  function log(msg) {
    document.getElementById('log').textContent += msg + '\n';
  }

  // setup websocket with callbacks  var ws = new WebSocket('ws://192.168.1.99:8080/');
  ws.onopen = function() {
    log('CONNECT');
  };
  ws.onclose = function() {
    log('DISCONNECT');
  };
  ws.onmessage = function(event) {
    log('MESSAGE: ' + event.data);
  };
</script>
</body>
</html> 

Here's a screenshot of the ouput in a browser:


Now I just need to grab my phone and walk down the the Greenhouse!

My next task will be to look at power management in order to get a reasonable battery life. Once I've got to grips with that I'll post an update.


Sunday, 26 April 2015

Covent Garden Jam rocks!

Yesterday's Raspberry Jam at Covent Garden was amazing.

The Dragon Hall was packed with Raspberry Pi enthusiasts of all ages and the whole event pulsed with energy.

I ran the Shrimping It! workshop  with some very welcome help from Jim Darby (@HackerJimbo). I'd never had a group that large, and I'd managed to bring the wrong glasses, so Jim saved the day.

By the end of the day we had lots and lots of LEDs blinking under program control, and lots of experimenters who'd discovered how breadboards work and what a capacitor looks like.

The organisers did a fantastic job, and made everyone very welcome. I'll certainly be going again.

The next Covent Garden Jam will be on 20th June, and I've got the date in my diary.


Friday, 24 April 2015

Shrimping It at Covent Garden tomorrow

I'm really looking forward to tomorrow's session at the Covent Garden Raspberry Jam.

There's lots to see and do. The Minecraft session is bound to be popular, and I'll be running another Shrimping It! workshop.

Making the Shrimp

The Shrimp (created by Cefn Hoile and friends) is a simple, low-cost Arduino clone on a breadboard. Workshop participants pay £10, for which they get a kit of parts, a breadboard, and a USB programmer, and a copy of Making the Shrimp.

That's a low-cost e-book which contains a step-by-step illustrated guide to building the Shrimp. (Disclosure - I wrote it).

We've limited numbers to 20, as that's the largest group size I can comfortably manage. The tickets sold out a couple of weeks ago, so we're expecting a full house!

Shrimping on your own

If you haven't booked for tomorrow's workshop, you can buy the parts from the Shrimping It! website and build it on your own. The parts cost just over £10 including postage to the UK, and for the next couple of days blog readers can get the e-book book for just 99c + VAT. To get your copy at the discounted price, click here.

Friday, 10 April 2015

Raspberry Pi and Pints at Potton

I'm off to Potton tomorrow for a Pint or two at the Rising Sun with fellow Raspberry Pint enthusiasts. These informal sessions are run by Mike Horn and Tim Richardson, who also organise the excellent CamJams.

If Pi and Pints appeal, there are still a few tickets available on Eventbrite. The event is free, and the tickets are there to make sure the room at the pub doesn’t get overcrowded.

A gardening project

I'll be taking along a project for my wife's greenhouse. It involves linking a Pi at home to a XinoRF in the greenhouse at her allotment using wireless radio.

The Pi uses wireless things' Slice of Radio. The XinoRF (also from wireless things) is a wireless-enabled Arduino clone.

The basic set-up now works well, but getting it going has been trickier than I expected.

I'll be describing the mistake I made and its simple solution in next week's edition of my free newsletter, along with additional details of the software at each end.

You can subscribe to the newsletter here. I won't share your email address with anyone, and you can unsubscribe at any time.