The Greenhouse project - Websockets, Pi, Wireless, Arduino
I'd been asked to do a lightning talk, and gave an update about my Greenhouse monitor project.
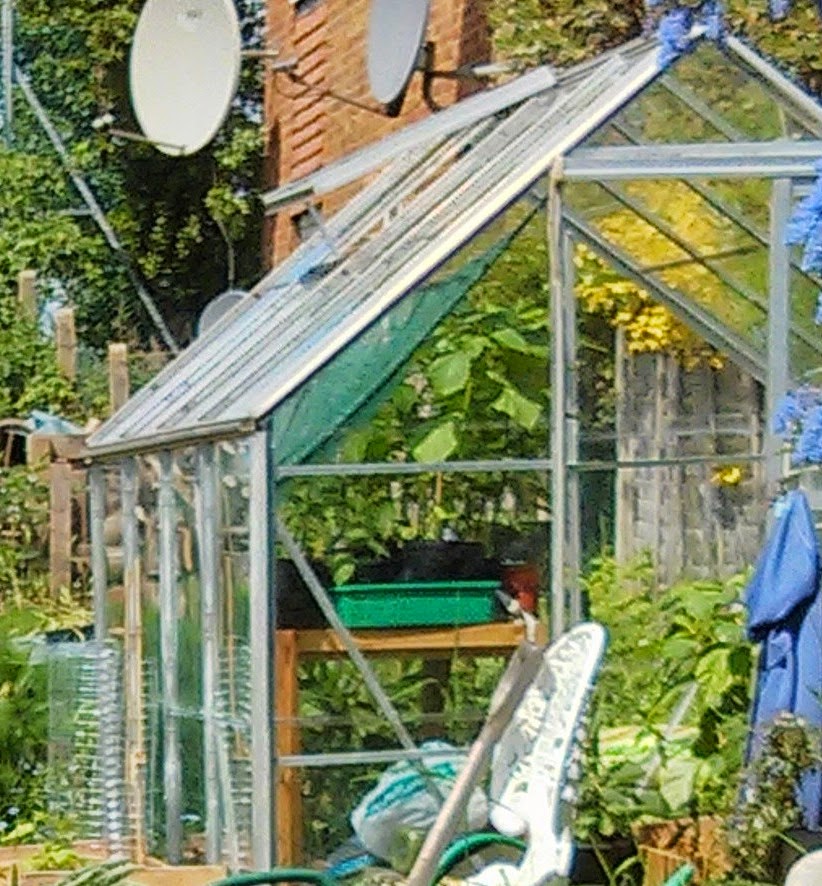
The background
My wife and I have an allotment that's just over half a kilometre from our flat. On it there's a greenouse. At this time of year the greenhouse is full of tender seedlings and my wife likes to protect them from fluctuations in temperature.I've been working on a remote battery-powered monitor which will live in the greenhouse and transmit temperature data over wireless (not WiFi) to a Raspberry Pi at home. The Pi will log the data and display historic values on a website which we can view from a browser or smartphone.
Testing the range

I've a simple idea for checking the range. I'm going to send data every second from the XinoRF and display it on a web page on the Pi. The I shall walk from home to the greenhouse carrying the XionoRF. I'll watch the page on my phone and check that the signal is still being picked up by the Pi at home.
The code
There's a simple sketch on the Xino which currently transmits every second. The message displays the battery voltage and a steadily increasing count so I can easily see if a message is lost.Here's the sketch:
// declare pin to enable radio
const int RADIO_ENABLE = 8;
// divided battery input connected to A5
int BATTERY_INPUT = A5;
// declare message count and initialise to zero
int count = 0;
int sensorValue = 0;
float scale;


void setup() {
  scale = (1.56/0.56) * 5.0/1023;
  // enable radio.
  pinMode(RADIO_ENABLE, OUTPUT);
  digitalWrite(RADIO_ENABLE, HIGH);
  // start communication at 115200 baud
  // that's the default for the Xino on external power
  Serial.begin(115200);
}

// the loop routine runs over and over again forever:
void loop() {
  // read battery voltage and convert to volts
  float batteryVoltage = scale * analogRead(BATTERY_INPUT);
  // print message and count
  Serial.print(batteryVoltage);
  Serial.print("V - ");
  Serial.println(count++);
  // wait for a second
  delay(1000);
}
On the Pi I read this from a serial port using PySerial and log it to a file. Here's the Python code:
#! /usr/bin/pythonimport serial

radio = serial.Serial(port='/dev/ttyAMA0')

while True:
    with open('greenhouse.log','a') as log:
        try:
            log.write(radio.readline())
            log.flush()
        except KeyboardInterrupt:
            radio.close()
            exit()
Once I've started this I can see the growing logfile by running
tail -f greenhouse.log
from the command line.
I could just use ssh to open a terminal from my mobile phone, but I don't like the idea of exposing an ssh port on the Pi. It's easy to forget to change the Pi's default password!
There are lots of ways to display the log file via a web page, but most of them involve more work than I want to spend on a simple test.
webscocketd to the rescue
There's a really easy way to do that. My friend +Joe Walnes has written a neat piece of software called websocketd. This allows you to instantly create a websocket server from any command line program that reads from or writes to standard output.On the Pi I run
websocketd --port=8080 tail -f greenhouse.log
and any browser that connects to the server on my Pi will see each message received by the Pi.
The html page to display the websocket data is
<html>
<head lang="en">
    <meta charset="UTF-8">
    <title>Greenhouse monitor</title>
</head>
<body>
<pre id="log"></pre>
<script>
  // helper function: log message to screen  function log(msg) {
    document.getElementById('log').textContent += msg + '\n';
  }

  // setup websocket with callbacks  var ws = new WebSocket('ws://192.168.1.99:8080/');
  ws.onopen = function() {
    log('CONNECT');
  };
  ws.onclose = function() {
    log('DISCONNECT');
  };
  ws.onmessage = function(event) {
    log('MESSAGE: ' + event.data);
  };
</script>
</body>
</html>
Here's a screenshot of the ouput in a browser:

Now I just need to grab my phone and walk down the the Greenhouse!
My next task will be to look at power management in order to get a reasonable battery life. Once I've got to grips with that I'll post an update.


Comments
Post a Comment