Posts

Big data on a small computer!

Image
Neural Networks on the Raspberry Pi I've been having some fun experimenting with ANNs ( Artificial Neural Networks ) on the Raspberry Pi . I've been interested in ANN research for a very long while: I wrote my first simulator back in 1974. I developed that first version in ALGOL60. I've recently re-written and extended it in Dyalog APL , and now it runs on the Raspberry Pi. Why APL? I've found APL a great choice for ANN research and education, for several reasons: It's easy to learn, and fun! It's concise and easy to test. It handles arrays naturally. It has a rich set of primitives for data manipulation and calculation. It supports a pure functional programming style. Dyalog APL has great support for parallel computing. The Raspberry Pi version is free for non-commercial use. Inexpensive ANN computing I'm using a Raspberry Pi B model 3, but it runs acceptably fast on earlier versions of the Pi. I haven't yet tried it on the Pi ...
The Greenhouse project - Websockets, Pi, Wireless, Arduino

Image
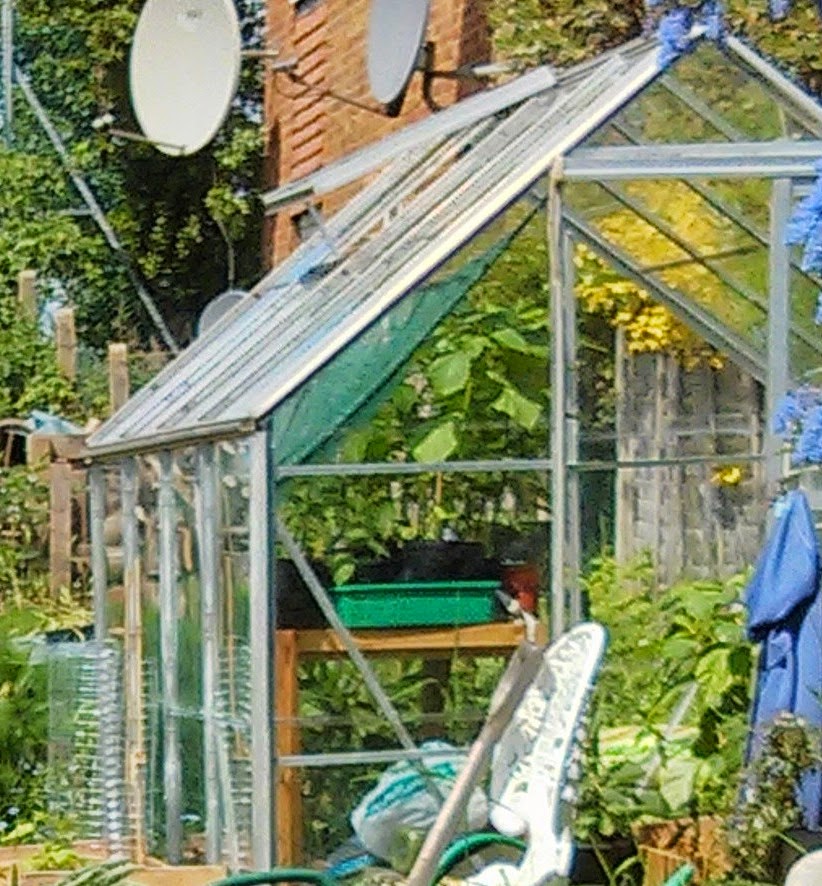
I went along to the Raspberry Pint meetup last night. It's a lively and friendly group, and I'll be going again next month. I'd been asked to do a lightning talk, and gave an update about my Greenhouse monitor project. The background My wife and I have an allotment that's just over half a kilometre from our flat. On it there's a greenouse. At this time of year the greenhouse is full of tender seedlings and my wife likes to protect them from fluctuations in temperature. I've been working on a remote battery-powered monitor which will live in the  greenhouse and transmit temperature data over wireless (not WiFi) to a Raspberry Pi at home. The Pi will log the data and display historic values on a website which we can view from a browser or smartphone. Testing the range I'm currently using a +Wireless Things  XinoRF talking to a Slice of Radio board attached to the Pi. I need to verify that the transmitter is powerful enough to send a signal that t...

Covent Garden Jam rocks!

Image
Yesterday's Raspberry Jam at Covent Garden was amazing. The Dragon Hall was packed with Raspberry Pi enthusiasts of all ages and the whole event pulsed with energy. I ran the Shrimping It! workshop  with some very welcome help from Jim Darby (@HackerJimbo). I'd never had a group that large, and I'd managed to bring the wrong glasses, so Jim saved the day. By the end of the day we had lots and lots of LEDs blinking under program control, and lots of experimenters who'd discovered how breadboards work and what a capacitor looks like. The organisers did a fantastic job, and made everyone very welcome. I'll certainly be going again. The next Covent Garden Jam will be on 20th June, and I've got the date in my diary.

Shrimping It at Covent Garden tomorrow

Image
I'm really looking forward to tomorrow's session at the Covent Garden Raspberry Jam. There's lots to see and do. The Minecraft session is bound to be popular, and I'll be running another Shrimping It! workshop. Making the Shrimp The Shrimp (created by Cefn Hoile and friends) is a simple, low-cost Arduino clone on a breadboard. Workshop participants pay £10, for which they get a kit of parts, a breadboard, and a USB programmer, and a copy of Making the Shrimp. That's a low-cost e-book which contains a step-by-step illustrated guide to building the Shrimp. ( Disclosure - I wrote it). We've limited numbers to 20, as that's the largest group size I can comfortably manage. The tickets sold out a couple of weeks ago, so we're expecting a full house! Shrimping on your own If you haven't booked for tomorrow's workshop, you can buy the parts from the Shrimping It! website and build it on your own. The parts cost just over £10 including po...

Raspberry Pi and Pints at Potton

I'm off to Potton tomorrow for a Pint or two at the Rising Sun with fellow Raspberry Pint enthusiasts. These informal sessions are run by Mike Horn and Tim Richardson, who also organise the excellent CamJams. If Pi and Pints appeal, there are still a few tickets available on Eventbrite . The event is free, and the tickets are there to make sure the room at the pub doesn’t get overcrowded. A gardening project I'll be taking along a project for my wife's greenhouse. It involves linking a Pi at home to a XinoRF in the greenhouse at her allotment using wireless radio. The Pi uses wireless things ' Slice of Radio. The XinoRF (also from wireless things ) is a wireless-enabled Arduino clone. The basic set-up now works well, but getting it going has been trickier than I expected. I'll be describing the mistake I made and its simple solution in next week's edition of my free newsletter, along with additional details of the software at each end. You can subsc...

More fun with the Pimoroni Explorer HAT

Image
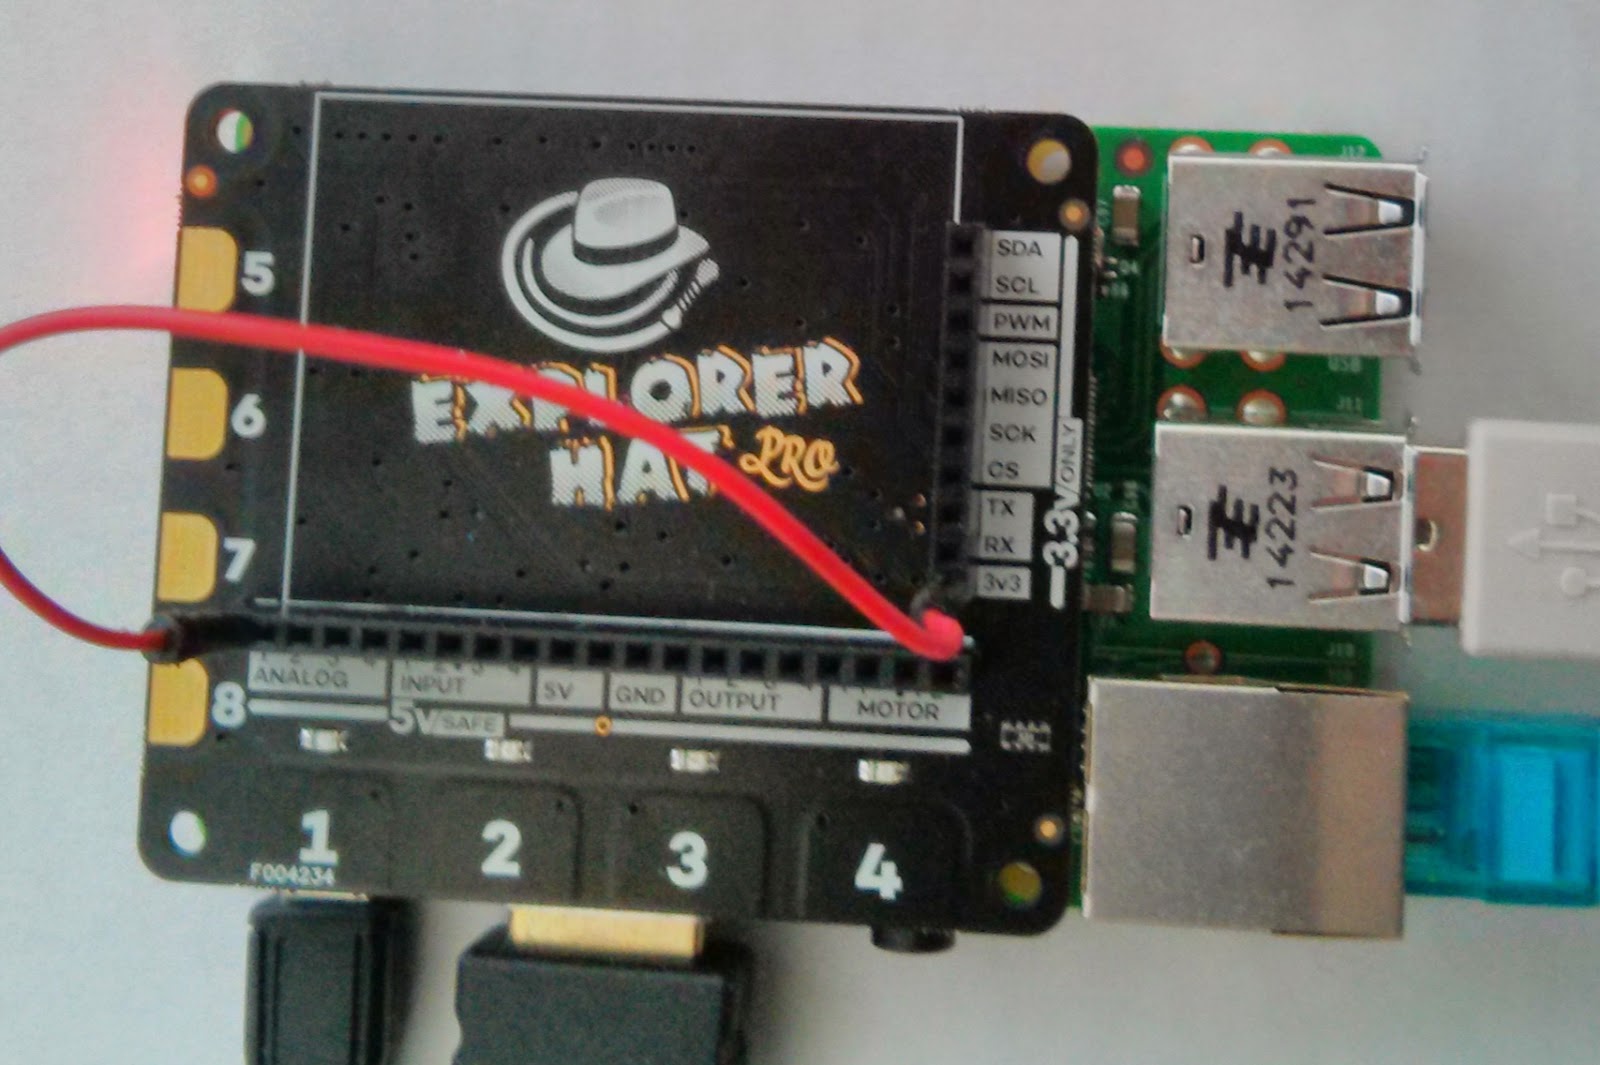
I've been playing a bit more with the new Pimoroni Explorer HAT . One of the most exciting features of the Pro version is the analogue interface. Once you've installed the ExplorerHAT package using pip, you can try typing in the examples in the README on github. If you want some more examples, you can clone the github repository into a directory of your choice. Then you'll be able to run the code from the examples directory. Type git clone https://github.com/pimoroni/explorer-hat.git cd explorer-hat sudo python examples/analog-event.py You'll see a series of rapidly varying numbers displayed in the console. These show the current voltage as seen on analogue input 1. Since you (presumably) haven't connected that to anything, the output will be fluctuating random values. To see something more sensible, use a jump wire to connect analogue input 1 to the Hat's 3.3 volt output, and you should see the display stabilize showing a value of about 3.3 ...

Pimoroni Explorer Pro Hat - first impressions

Image
This morning my new Explorer Hat from Pimoroni arrived, and the tempation to play has proved to much to resist. There are two versions of the Explorer Hat, standard and Pro. I greedily ordered one of each; the standard version is great for experimenting, but the Pro version offers several extra useful features. I started with the Pro. I love it. Here's what the Explorer hats provide: Four buffered 5V tolerant inputs Four powered 5V outputs (up to 500mA!) Four capacitive touch pads Four capacitive crocodile clip pads Four coloured LEDs PRO ONLY  Four analog inputs PRO ONLY  Two H-bridge motor drivers PRO ONLY  A heap of useful (unprotected) 3v3 goodies from the GPIO A mini breadboard on top! It took me a couple of minutes to get the environment set up The Readme on the github site tells you how prepare your Pi, and then walks you though some fun experiments. One thing to watch: the setup instructions suggest that you install pip by typin...